web analytics

Prophecy Rosé Wine Review

Rosé Wine Review

Disclosure: CraftEaze is a participant in the Amazon Services LLC Associates Program, an affiliate advertising program designed to provide a means for sites to earn advertising fees by advertising and linking to Amazon.com and affiliate sites. 

Rosé wine is currently very popular.  This is unbelievable especially since rosé has really only been gaining popularity over the last several years (aka since the early 2000s).  If you Google rosé wine, you will find over 80 million results.  Of these 80 million results, you will find several hundred relating to millennials and their love of rosé wine. Because of this, I was nervous about writing a rosé wine review out of fear that I would be just another millennial writing about a rosé.  But I decided to go ahead and write one because I like a good rosé!

Rose and kniting
Last week I enjoyed a glass of this wine while knitting a baby blanket.

Rosé wines are wines that have a pink or blush color.  These wines get their color from the interaction between the grape skins and the grape juice during winemaking. The skins are typically left in the juice for a couple of days which is just enough time to produce the nice pink color. Rosé wines are typically from the south of France but can be made elsewhere.

Based on my Wikipedia research, rosé wines were some of the first wines to have been produced.  These wines had a resurgence after World War II when two Portuguese winemakers released a sweet rosé to the US and Europe.  These wines were extremely popular for several years, but that popularity faded away like the slow death of the floppy disk.  However, unlike the floppy disk, these wines made a successful comeback.  The comeback was originally only a summertime drink, but it is slowly starting to be a go-to drink all year long.  If you don’t believe me, just check out Buzzfeed and the number of posts related to rosé wine.

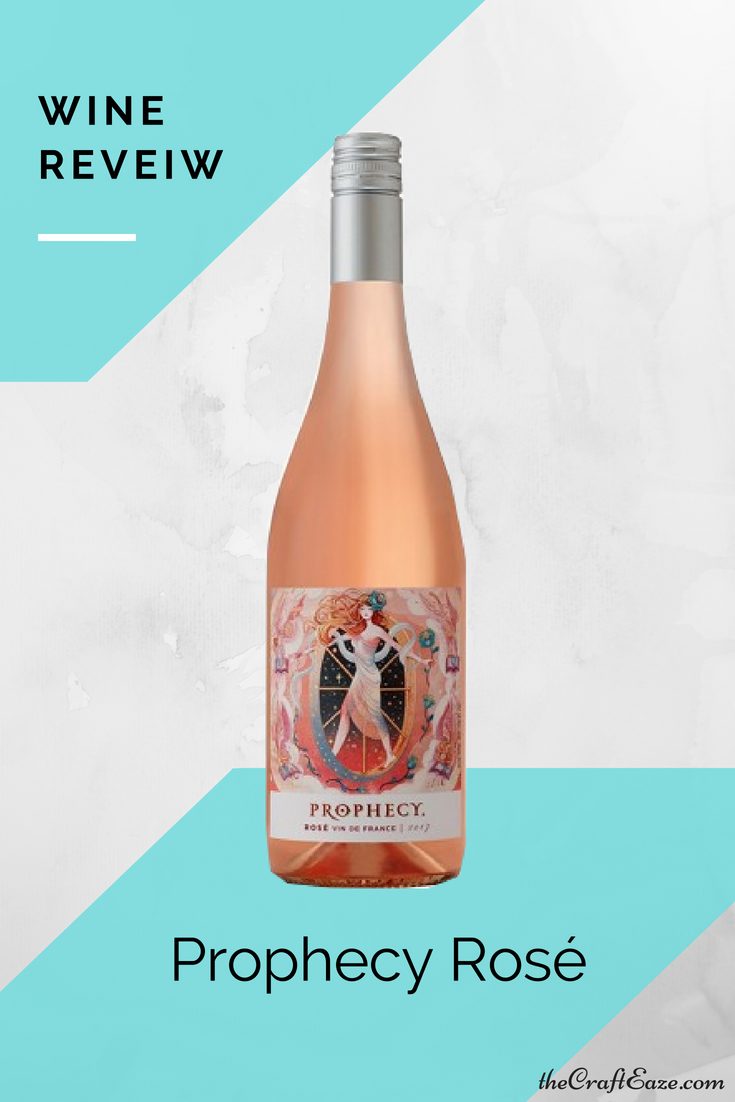
The September crochet CraftEaze box wine suggestion was the Prophecy Rosé.  I found this rosé at my local grocery store, but it can also be bought at Target.  This wine can be purchased for $20 or less.  You can use this website to find a location near you: http://www.prophecywines.com/#purchase.

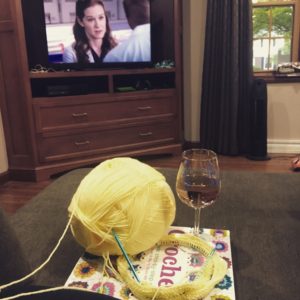
The Prophecy Rosé is a crisp dry wine. I can taste flavors of raspberries and peach.  I enjoy drinking this wine while watching Netflix and working on a craft project.  This wine would be a good wine to serve with dinner or at a brunch. These wine glasses would be perfect to enjoy a glass this wine in.  The gold polka dots will contrast greatly with the light pink color of the wine.  These glasses are also stemless, so you don’t have to worry about breaking the stems off when you are doing dishes.  Speaking from experience, one of the worst things to break in the kitchen is the stem of a wine glass.  Like the part that holds the drink is still perfectly good, but you can’t use it anymore because there is no way to set the glass down or hold the wine glass without getting a cut.

How to Make A Wooden Photo Sign

Photo Sign

Disclosure: CraftEaze is a participant in the Amazon Services LLC Associates Program, an affiliate advertising program designed to provide a means for sites to earn advertising fees by advertising and linking to Amazon.com and affiliate sites.

Are you looking for a cool way to display photos at your wedding? Or even for an easy DIY project to hang up photos of your kids? If so, look no further then this project.  In this post, I will teach you how to make a wooden photo sign.  If you like this project, then be sure to check out our other how-to posts (Wooden Wedding Sign and Unique Notebook).

Materials Needed

Materials Needed
Materials needed to make this project.

To make this project you will need:

CraftEaze also sells a kit to make this project.  You can find our kit here.

Instructions

Step 1: Paint the wooden panel with the white chalk paint.  You will need to apply 2 coats.

White chalk paint

Step 2: While the chalk paint dries, determine the saying you would like on the sign. Here are a few examples for a wedding:

  • Once upon a time… And they lived happily ever after.
  • Love is patient, love is kind
  • God bless the broken road, that led me to you
  • If heaven wasn’t so far away.

Step 3: After the paint dries, you will trace the saying onto the board using an ink pen and stencil.

Stencil and Pen

Saying complete
This is what the sign should look like after tracing the saying.

Step 4: Paint inside the traced lines. You will want to connect the different parts of the letters (like the base of the L to the verticle part of the L).

Fill in between the line of the outline

Step 5: After you finish painting the letters, allow the paint to dry.  Below is what my photo signed looked like after painting the letters.

Paint drying again

Step 6: After the paint dries, you will determine the amount of twine needed for the sign.  The amount will depend on how much slack you would like. You will need several extra inches to glue the twine to the back of the sign.

twine length

Step 7: Glue the ends of the twine to the back of the sign using the hot glue gun.

glue twine


Step 8: Allow the hot glue to cool. The hot glue dot should look like the image below.  You will need to hold the twine into the glue until it well joined.

hot glue

Step 9: After the glue dries, you can flip it over and add the photo to the sign using the clothespins.

Hang the photos


Hope you enjoy making this craft!

Back To School – How To Make An Unique Notebook

Unique Book

Disclosure: CraftEaze is a participant in the Amazon Services LLC Associates Program, an affiliate advertising program designed to provide a means for sites to earn advertising fees by advertising and linking to Amazon.com and affiliate sites.

I hate to tell you all this, but summer is almost over. If you watched anything on tv or listened to the radio the last week or so, then you have probably been reminded of this fact by all the “Back To School” commercials.  Its the time of the year to buy your kids’ school supplies once again and for the teachers out there its time to get your classroom ready for students.

Now I don’t know about you, but I like colorful school supplies. In college, I use to buy several different color binders and notebooks for my classes. I liked each class to have a different color scheme.  This helped me grab the right binder or notebook when I was quickly walking out the door.  For example, one semester my Steelmaking class had a green binder while my Corrosion class used a blue binder.  I had different tabs in each binder for lecture PowerPoint slides, homework, quizzes and tests, and handouts the professor would give out.  I liked to have everything organized so information was easy to find and so I had a good reference for future classes.

There is one thing I really dislike in the school supply world, the black and white composition notebooks.  You know the notebooks I’m talking about, but here is a picture of one.

Example of a boring composition book

These notebooks are so boring and dark.  What exactly is the design? Is it a Rorschach test or the result of a 3-year-old throwing paint at a wall? Is there any way to make these notebooks brighter and more unique?  Well, I have figured out a way to make these notebooks prettier and able to match your own personal style. Keep reading to find out how.

What You Will Need

Material
Materials needed to make the notebook.

I personally like ColorBok brand designer paper.  There are so many different types of paper you can find.  My personal favorite is the vintage one.  There is a sheet of paper that kind of looks like an old letter.  Here are a few examples of the ColorBox design paper pads:

Step By Step Instructions:

Step 1: Determine what design you would like on the outside and inside of your notebook.  The ColorBok brand designer paper comes with 2 sheets of each design.  I recommend you use both sheets of a design for the outside of your notebook.  In this example, I selected the 2 sheets with the map of North American and blue-green marble design paper as an accent for the inside cover.

Step 2: Using the Elmer Craft Bond glue pen, apply glue to the front cover of the notebook.

Elmer Craft Bond Glue
Apply the glue to the cover.

Step 3: Carefully line the first sheet of the design paper on the cover. You will want the edge of the paper to be laying next to the black fabric binding.  There needs to be a paper overhang on the top and bottom. See the photo below.

Cover Sheet
Lay the paper so there is a slight overhang on the top and bottom of the notebook and the edge is laying right next to the black fabric.

Step 4: Press the paper to ensure that the paper is bound to the notebook. Try to push out any air bubbles to ensure the cover is flat and smooth.

Step 5: Open up the notebook.

Open Notebook
What the notebook looks like after opening.

Step 6: Fold the overlay from the top and bottom over.  The fold should lie right at the top and bottom of the cover (see photo below.  After making the holds, you will glue the folded paper to the cover.

Hold Top and Bottom
Hold the top and bottom extra paper.

Step 7: Apply glue to the remaining paper that is not currently on the cover.

Apply glue to the remaining paper.

Step 8:  Fold the section that you just glued on to the cover.  Press to create a strong bond between the paper and the notebook.  Try to remove any air bubbles at this time.

Hold the remaining paper to the cover.

Step 9: Determine how much of the accent paper you will need for the inside cover. You can make this as big as you like.  You can make it so that it covers up most of the inside cover or just the white part. I personally prefer this accent paper to take up 60-75% of the inside cover.  Cut the accent paper to size.

Cut the accent paper.

Step 10: Apply glue to the back of the accent paper.

Apply glue to the accent paper.

Step 11: Apply the accent paper to the inside cover. You will want the edge of the accent paper to be right next to the first page of paper.  Press to create a strong bond between the paper and the notebook.  Try to remove any air bubbles at this time.

Place paper on the inside cover.

Step 12: Repeat steps 2-11 for the back cover.

Step 13: Wipe away all excess glue with a napkin.

Step 14: Place books and other heavy items on top of the notebook.  This will help create a strong bond between the design paper and the composition notebook.  Wait for approximately 20-30 minutes.

Place heavy objects on top of the notebook and allow the glue to dry.


Step 15: Examine the notebook.  If there is any excess paper visible, use scissors to cut it even.

Cut off excess paper.

The notebook is now complete and ready for notetaking! Below are photos of the notebook that was made for this tutorial.  I can’t wait to see what you all come up with!

Outside Cover
Inside Cover

Netflix Movie Review – I Give It A Year

Movie Review - Netflix

The photo used in the image above is from MovieWeb.com.

Oh, Netflix suggestions they can be a hit or they can be a bust.  I Give It a Year was a Netflix suggestion for me a few years ago, and I consider it a hit! I have seen this movie several times since it was initially suggested to me, and I have enjoyed every time I have watched it.

I Give It a Year is a romantic comedy that centers around a young couple’s first year of marriage.  Nat is a highly ambitious advertising executive.  Some of her friends and family members think that she is much better than Josh and they aren’t really a good couple.  Josh is a writer who is more of a go with the flow kind of guy.

The movie begins with a quick musical montage of Nat and Josh’s dating relationship. It shows them meeting at a party, getting engaged in Vince a short time later.  After the montage, we are invited to their wedding. Their wedding day is filled with mishaps from the priest unable to get through the vows without coughing to the best man’s super embarrassing speech.  We don’t get to see the honeymoon after the wedding, but references/pictures from it come up time to time.

After the wedding and honeymoon, Nat and Josh try to adjust to married life. They meet with a lawyer to create a will, they have a dinner party with their friends, navigate the holidays, and they fight.  One day at the advertising agency, a charming American (Guy) comes in looking for a new marketing campaign.  One of Nat’s coworkers tells her to take off her wedding ring to get the business.  This leads to many awkward situations, including one where Josh said he seems more like your type.   During this time, Josh is trying the help Chole, his friend (and ex-girlfriend), navigate the difficult dating world. It seems Chole is still in love with Josh, but he doesn’t know.  Will Nat and Josh make it to their first anniversary or will they break up? Will Nat choose Guy or Josh?  Will Josh choose Chole or Nat?

This movie is a British comedy, so there is a lot of awkward situations.  So if awkward situations aren’t really your thing, this movie would not be a good movie for you.  I think the movie is hilarious and is the perfect anti-romantic comedy.  Anna Farris plays Chole and is great as the lonely ex-girlfriend.  Be sure to check it out on Netflix!

Wine Review – California Roots Moscato

Target Moscato

This month’s wine review is for a Moscato.  I like Moscato wines because they are sweeter and are very tasty as you watch a movie on Netflix.  This month’s wine suggestion with the CraftEaze crochet subscription box is the California Roots Moscato.

The California Roots is a wine brand that is found only at Target.  I have spent a lot of time and money at Target. It has only gotten worse since they added the Hearth and Hand product line. I love watching Fixer Upper and its so much fun going through the Hearth and Hand section.  Joanna Gaines style matches mine pretty well.  I have also been on this organization kick the last few months, so I have been going to Target to find things to help with organizing my house.  I really like their wooden cube storage units with the fabric boxes. It’s an easy way to add a splash of color to my home office.

What is nice about the California Roots wine is that it is only about $5.  The California Roots Moscato has a fruity aroma. I taste peaches and melons as I sip this wine.  I most recently enjoyed this wine after cleaning my living room while binge watching Grey’s Anatomy on Netflix. The bottle has a bear on it, what more can you ask for!

So next time that you are wondering around Target, and let’s be honest that will probably be in the next week or so, pick up a bottle.

Social Share Buttons and Icons powered by Ultimatelysocial