
Some links posted below may be affiliate links which means I’ll earn a tiny commission if you purchase through them.
I recently saw a flashback picture on Facebook that my cousin’s wife posted back in February 2020 of my little cousin wearing a Pat Mahomes hat that I made for my aunt. As I was thinking about how cute he was back then I started to think to myself “what else can I make that will use the cute little curl?” And of course, the first thing I could think of was a pig with a curly tail!
I have named this stuffed pig Napoleon after the pig from Animal Farm because I thought he looked like he could lead an animal uprising. But this pig also takes some inspiration from Wilbur from Charlotte’s Web which was one of my favorite books growing up. I feel that this pig is really “Some Pig”. You can buy a printer-friendly version of the Napoleon the Pig crochet pattern here.
Materials
To make this pig you will need the following materials:
- 1-2 skein Bulky (weight 5 yarn) in Pink (I used ~1/2 skein of Bernat Blanket Pet Yarn that I had in my stash)
- 1 skein bulky (weight 5 yarn) in black
- A little bit of weigh 4 yarn in white.
- L-11 US (8.0 mm) Crochet Hook
- J–10 US (6.0 mm) Crochet Hook
- Fiber Fill Stuffing
Crochet Pattern
The pig is made of several different parts. You will assemble these parts at the end to make the pig.
Body (With L Hook):

Round 1: 6 sc in a magic circle with pink yarn. Insert stitch marker in the first sc. You will move this each round to the first stitch.
Round 2: 2 sc in each sc. (12 sc)
Round 3: *2 sc in first sc and 1 sc in second sc, repeat from * around. (18 sc)
Round 4: *2 sc in first sc and 1 sc in the next two sc, repeat from * around. (24 sc)
Round 5: *2 sc in first sc and 1 sc in the next three sc, repeat from * around. (30 sc)
Round 6: *2 sc in first sc and 1 sc in the next four sc, repeat from * around. (36 sc)
Round 7: *2 sc in first sc and 1 sc in the next five sc, repeat from * around. (42 sc)
Rounds 8-23: Sc in each sc. (42 sc)
Round 24: *1 sc in first five sc and sc2tog, repeat from * around. (36 sc)
Round 25: *1 sc in first four sc and sc2tog, repeat from * around. (30 sc)
Round 26: *1 sc in first three sc and sc2tog, repeat from * around. (24 sc)
Round 27: *1 sc in first two sc and sc2tog, repeat from * around. (18 sc)
Round 28: *1 sc in first three sc and sc2tog, repeat from * around. (12 sc)
Add stuffing
Round 29: *sc2tog, repeat from * around. (6 sc)
Round 30: *sc2tog, repeat from * around. (3 sc) Fasten off.
Head (With L Hook):

Round 1: 6 sc in a magic circle with pink yarn. Insert stitch marker in the first sc. You will move this each round to the first stitch.
Round 2: 2 sc in each sc. (12 sc)
Round 3: *2 sc in first sc and 1 sc in second sc, repeat from * around. (18 sc)
Round 4: *2 sc in first sc and 1 sc in the next two sc, repeat from * around. (24 sc)
Round 5: *2 sc in first sc and 1 sc in the next three sc, repeat from * around. (30 sc)
Round 6: *2 sc in first sc and 1 sc in the next four sc, repeat from * around. (36 sc)
Rounds 7-13: Sc in each sc. (42 sc)
Round 14: *1 sc in first three sc and sc2tog, repeat from * around. (30 sc)
Round 15: *1 sc in first two sc and sc2tog, repeat from * around. (24 sc)
Round 16: *1 sc in first one sc and sc2tog, repeat from * around. (18 sc)
Round 17: *sc2tog, repeat from * around. (12 sc)
Add stuffing
Round 18: *sc2tog, repeat from * around. (6 sc)
Round 19: *sc2tog, repeat from * around. (3 sc) Fasten off
Legs (With J Hook, make 4):

Round 1: 6 sc in a magic circle with black yarn. Insert stitch marker in the first sc. You will move this each round to the first stitch.
Round 2: 2 sc in each sc. (12 sc)
Round 3: 1 sc in front loop of each sc. (12 sc)
Round 4: 1 sc in each sc (12 sc). Change to pink yarn.
Rounds 5-11: 1 sc in each sc. (12 sc)
Add stuffing
Round 12: *sc2tog, repeat from * around. (6 sc). Fasten off and leave long tail to sew legs to body.
Nose (With J Hook):
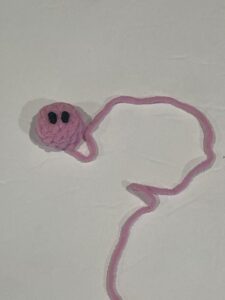
Round 1: 5 sc in a magic circle with pink yarn. Insert stitch marker in the first sc. You will move this each round to the first stitch.
Round 2: 2 sc in each sc. (10 sc)
Rounds 3: 1 sc in front loop of each sc. (10 sc)
Rounds 4: 1 sc in each sc. (10 sc) Fasten off, but cut a long tail that will be used to sew the nose to the head.
With black yarn, put two black dots on the nose.
Eyes (With J Hook, make 2):

Chain 4 with black yarn
Round 1: Sc in 2nd chain from hook. Sc in the next sc. 3 sc in the next chain (first chain). Sc in the back of the next two chains. Fasten off.
Ears (With J Hook, make 2):
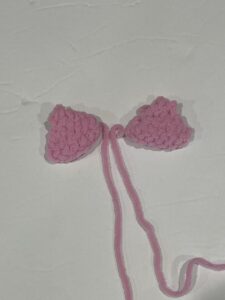
Chain 8 with pink yarn.
Row 1: Sc in 2nd chain and across, chain 1. (7 sc)
Row 2: Sc2tog, sc in next 3 sc, Sc2tog .(5 sc)
Row 3: Sc2tog, sc in next sc, Sc2tog. (3 sc)
Row 4: Sc2tog, sc in next sc. (2 sc)
Row 5: Sc2tog (1 sc). Fasten off.
Tail (With J hook):
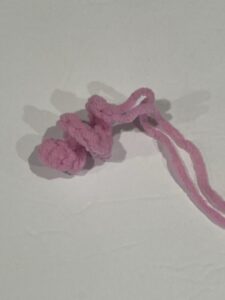
Chain 10 with pink yarn. Beginning on the 2nd chain, work 3 sc in each chain. Fasten off. You will have two tails that you will use to sew the tail onto the body of the pig.
Assembly
Sew the two ears on top of the head. Stuff the nose with filling and then sew the nose onto the head between the two ears towards the bottom of the head. Sew the eyes between the ears and above the nose.
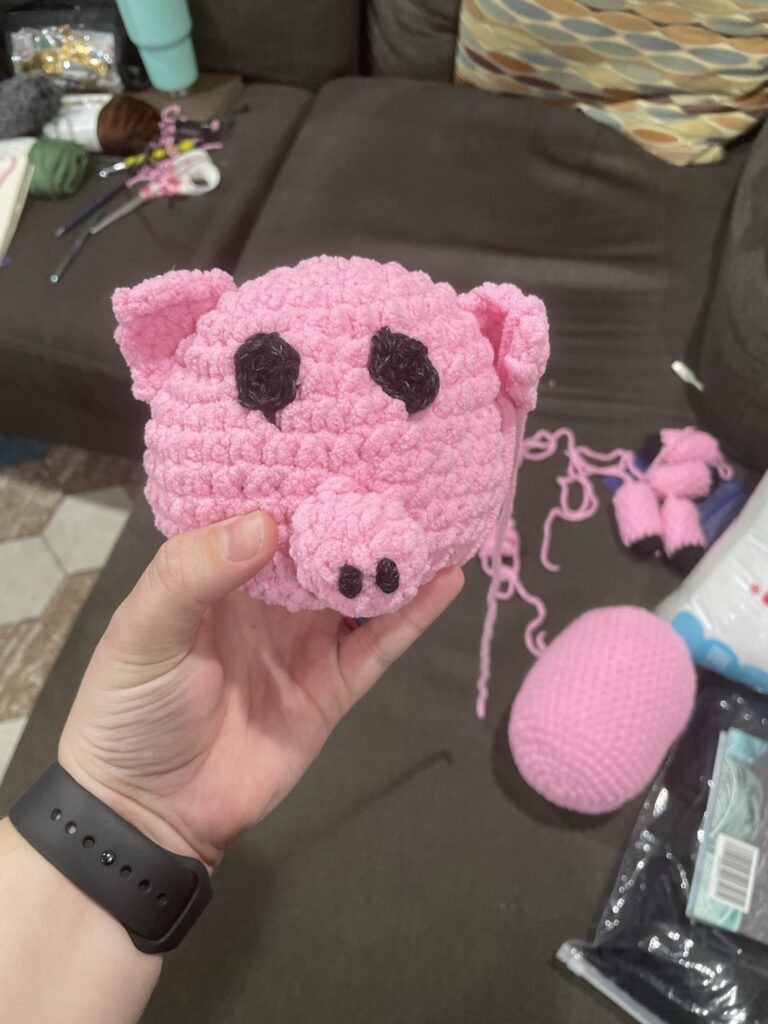
Sew the head on the top of the body. Once the head is sewed on, sew the 4 legs on to the body of the pig. Then sew the tail onto the back of the body. Using the white yarn, you can add details to the eyes if you would like.

I hope you enjoy making this pig as much as I enjoyed creating this pattern!