If you are crafty like me, you are probably trying to make most items for your wedding on your own. However, if you are like me you are probably also panicking because you don’t have enough time to get everything done! I found Etsy as a great place to find items for our wedding that were unique! Here is a list of my 9 favorite guest books for a wedding.
Disclosure: CraftEaze is a participant in the Amazon Services LLC Associates Program, an affiliate advertising program designed to provide a means for sites to earn advertising fees by advertising and linking to Amazon.com and affiliate sites.
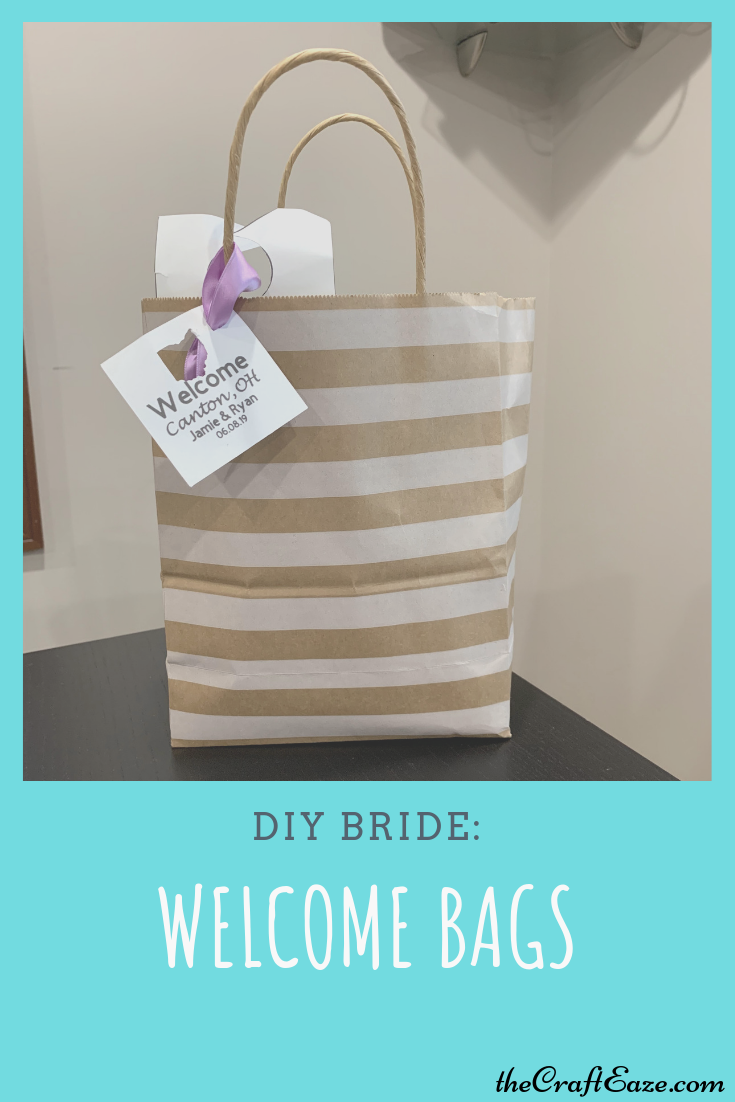
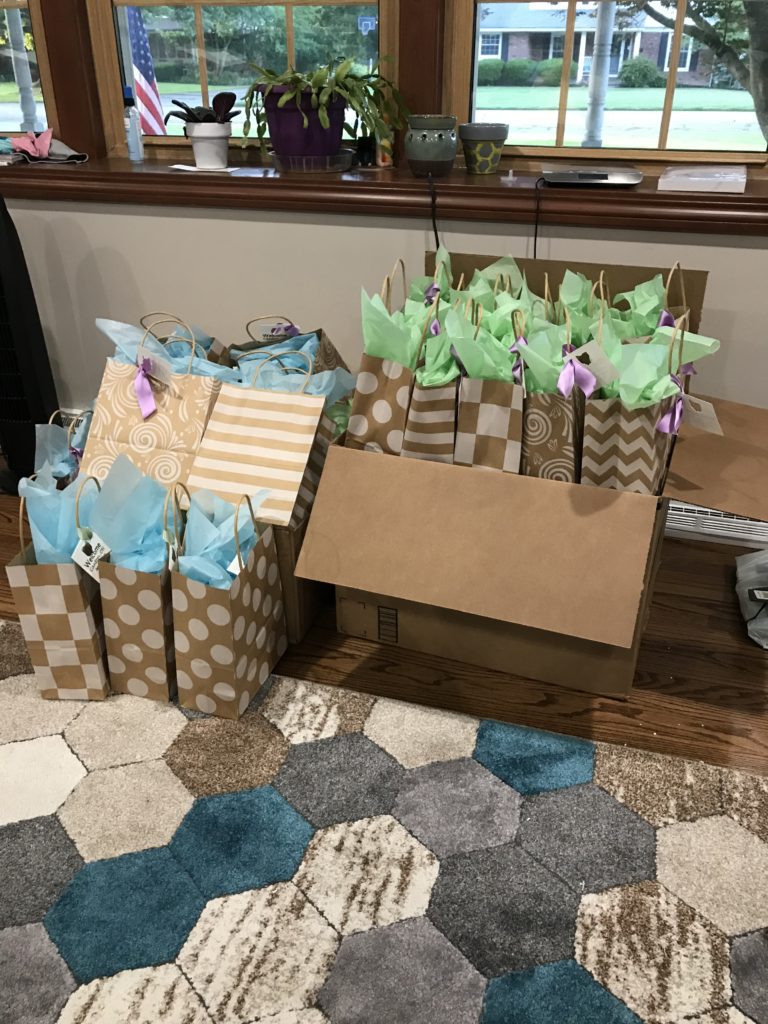
Welcome bags are a nice treat for your out of town wedding guests. Since my husband and I got married in the city we currently live in, almost all of our guest were from out of town. Some of our friends that lived around here also stayed at the hotel that night so they could go out with us after the reception. Welcome bags are appreciated in both cases, especially if you add bottles of water and snacks!
My mom, sister, grandma, and I made the welcome bags during the week prior to the wedding. We even formed somewhat of a convary line to do it (my sister and I are both engineers). They were a lot of fun to put together.
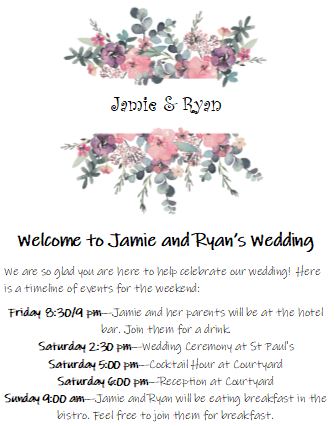
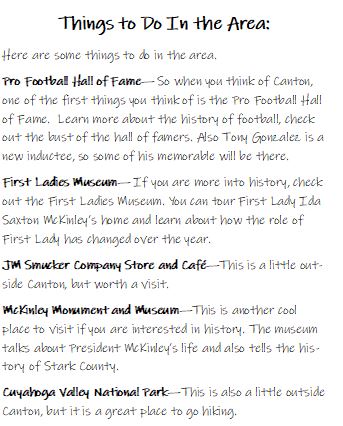
I made a couple of insert for the welcome bag in Microsoft Publisher. Each insert had a different purpose. The first one had a “welcome note” with a timeline of events on the front and a direction/map from the hotel to the church on the back. The second insert was really more for the out of town guests. One side contained a few of our favorite places to eat and drink. The other side contained a list of things to do in the area.
Welcome Insert with ScheduleSome of our favorite places to eat and drinkSome local attractions and things to do.
Bottles of water and food are also great for welcome bags. Avery labels actually make a water bottle label. I used them to make personalized water bottles for welcome bags. They were super easy to use and Avery has many templates that you can use as a starting point. All you have to do is modify the template and it saves it as a PDF. I highly recommend these labels. You can also use them for fundraisers, family reunions, or even events at your child’s school.
Our water bottle label. Avery water bottle labels made it so easy!
We included several food items in the bags. We want to provide both sweet and salty items along with something related to the area. Other items are related to my husband and me. Below is a list of items we included
We also included a fun tag on the bag. The tag had a cutout of the state of Ohio in the middle. This tag said, “Welcome – Canton, OH” along with our names and wedding date. My sister was excited because it was another chance to use the Cricut for a wedding project. The final addition to the bag was a custom door hanging. I created this door hanging in Microsoft Publisher. This was one of my favorite wedding projects. I received many compliments about how cool this door hanging was.
Our “Do Not Disturb” door hanging
To complete the bags, we put all of the items in a small brown paper gift bag that had different designs in cream on them. We added the tag to the handle using a piece of purple or mint ribbon. We also fluffed some light purple and blue tissue paper on top to complete the bag. And just like that, the bags were ready to go to the front desk at the hotel.
If you liked this tutorial, be sure to check out some of our other wedding related tutorials.
Disclosure: CraftEaze is a participant in the Amazon Services LLC Associates Program, an affiliate advertising program designed to provide a means for sites to earn advertising fees by advertising and linking to Amazon.com and affiliate sites.
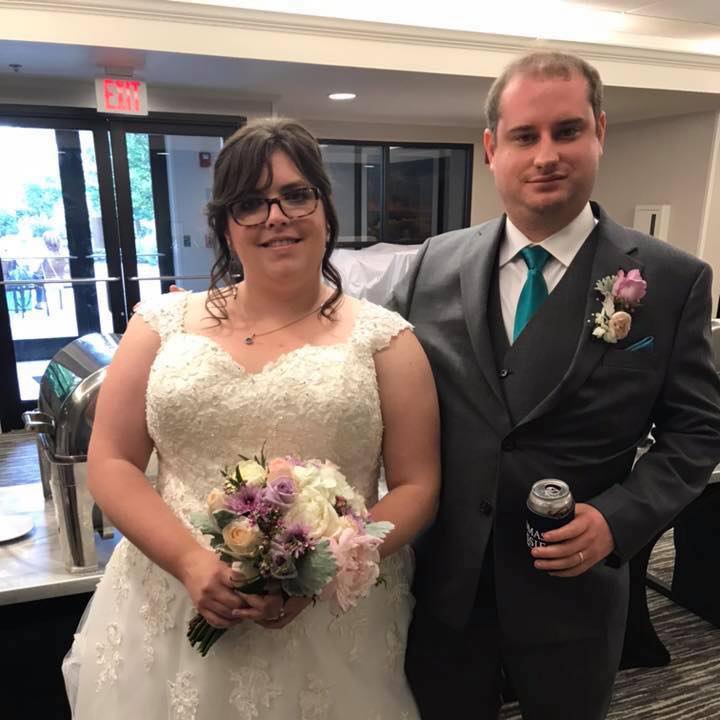
So life has been crazy for the last few months! But I really have a good excuse, I got married! So the few months leading up to the wedding I didn’t really have time to put towards CraftEaze. Also, I was working on some cool projects during this time period, but I didn’t really want to post on Facebook or Instagram so my friends and family would be surprised when they saw everything at the reception.
We are married! Let’s Party! I love my dress, the lace was so pretty.
However, the wedding is over and the thank you notes are in process. So that means I have time for CraftEaze again and also I can share the different projects I worked on for the wedding. We made a lot of decorations for the wedding/reception. My husband even designed a coozie that pretty much described the wedding planning process for us. Today, I am going to write about a project I enjoyed making and am excited to share with you all!
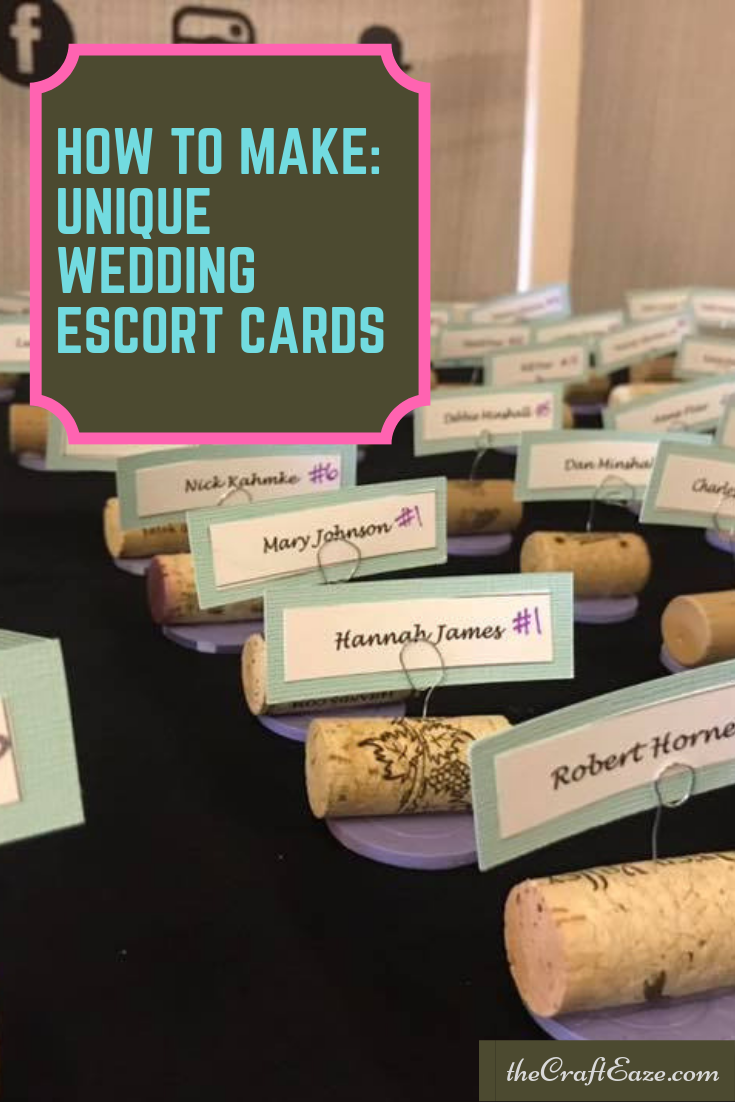
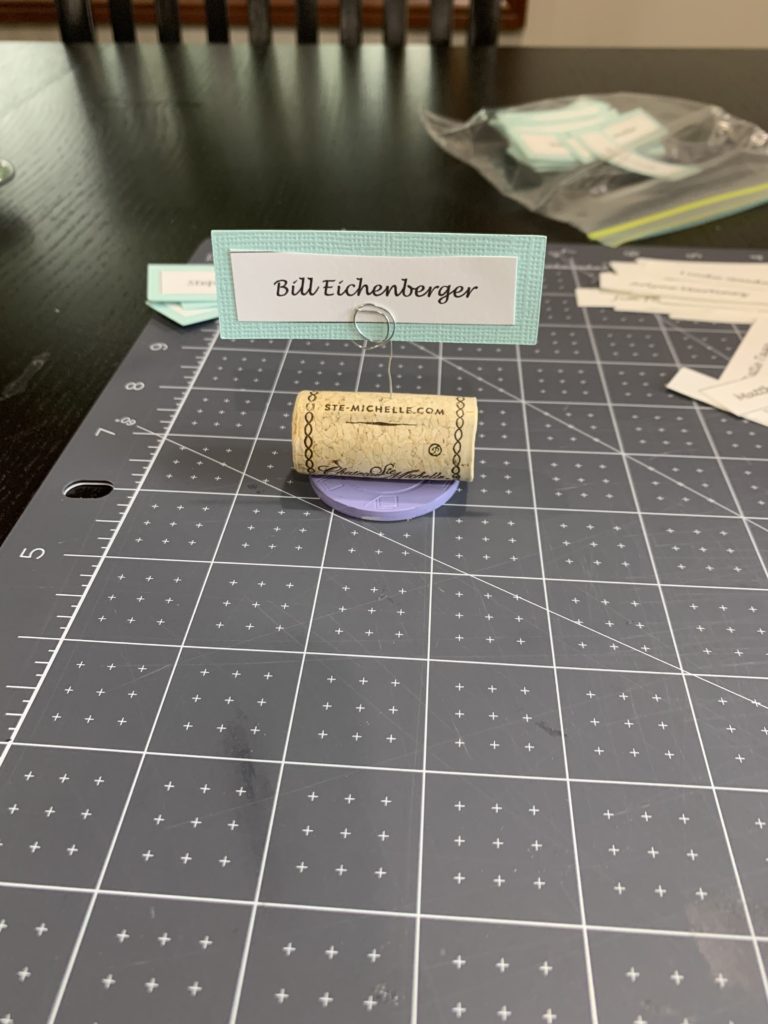
So for my wedding place cards, I knew I wanted to use wine corks. I had been saving corks for almost 2 years for a special project, and this seemed like the perfect project. But I didn’t really want them to look like every other wine cork escort card. After researching how to cut a cork, I became a little overwhelmed by how long it would take to cut all of the corks. So I came up with another way. The following instructions document the process that I came up with.
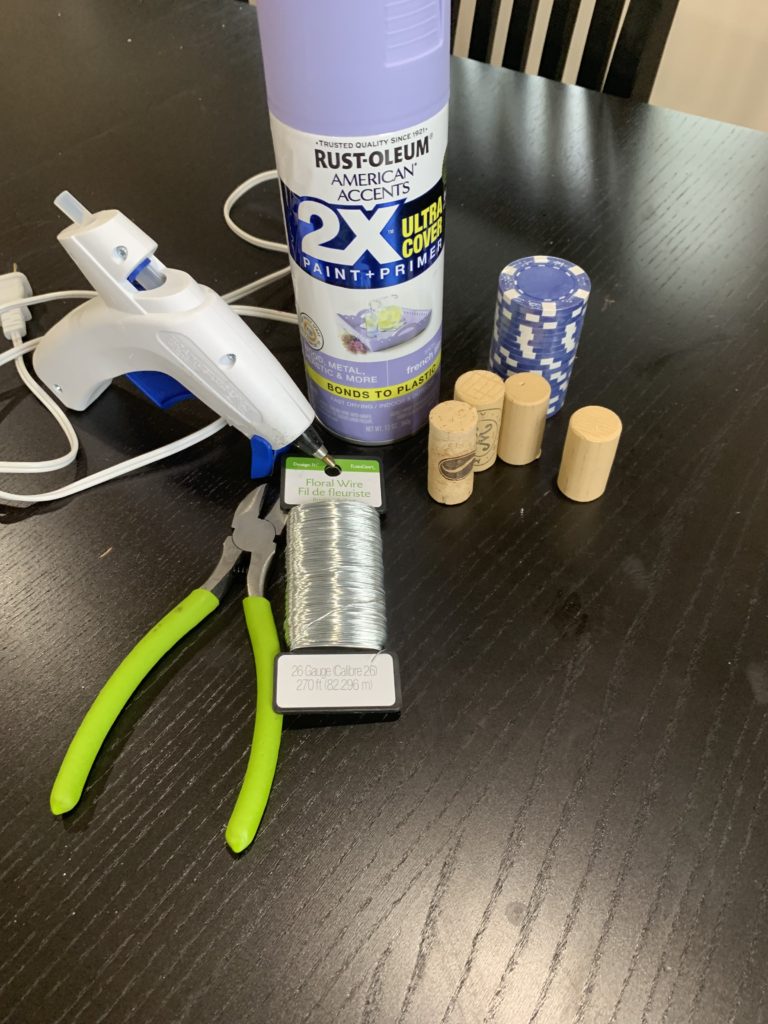
Materials Needed
Materials needed for place cards.
Spray Paint In Accent Color Of Your Choice – I used light purple.
Poker Chips – I like these because they are on the thicker side and as a result a little more stable.
Wine Corks – You can either buy wine corks from Amazon or another craft supplier or you can save them. My husband is convinced the wedding was just an excuse for me to drink wine.
Cream Card Stock – You will want this card stock to be a size that can fit in your printer.
Instructions
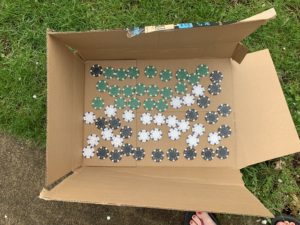
Step 1. Lay out the poker chips.
I used an Amazon box I had laying around to layout the poker chips.
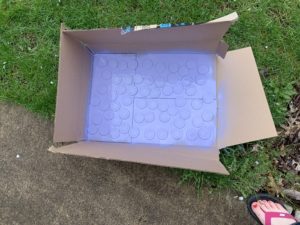
Step 2. Spray paint the poker chips.
Step 3. Let the poker chips dry. I spray painted my chips in the yard and then left them to dry under my covered front porch for a night.
Painted chips drying on the cardboard box.
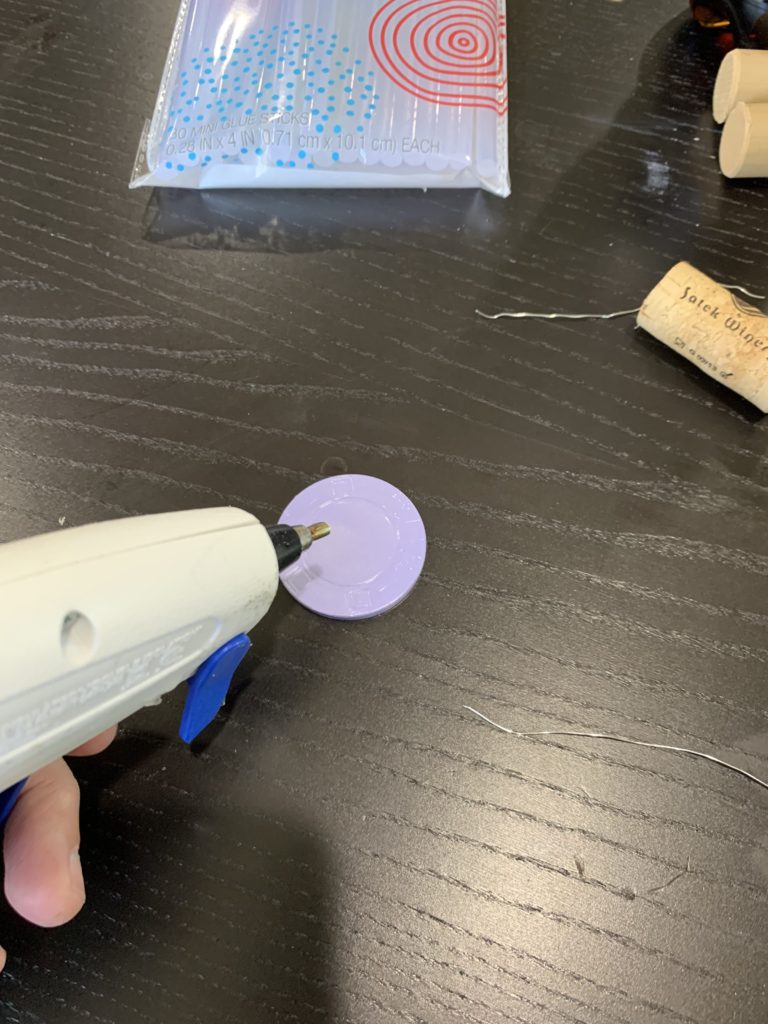
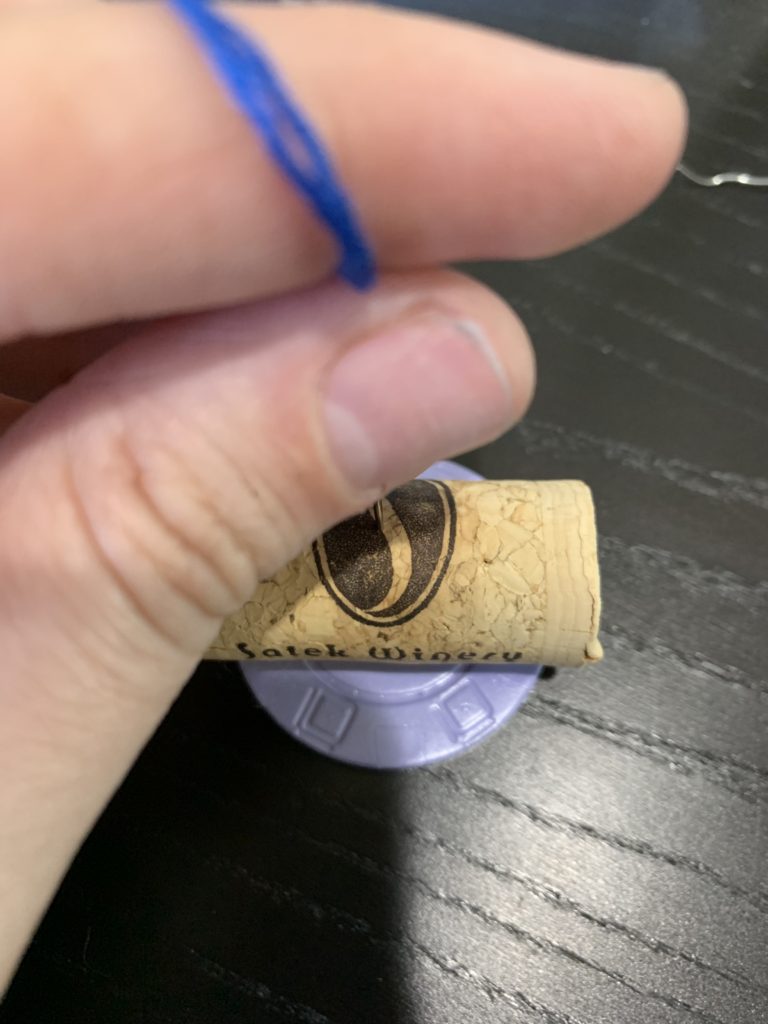
Step 4. Using the hot glue gun, glue the cork to the painted poker chip. Since I had corks from a variety of different wineries, I tried to glue them so the name of the winery or design was easily displayed.
Put a dot of hot glue in the center of the poker chip.
Place the cork on the poker chip. I tried to make the winery name or design easy to see.
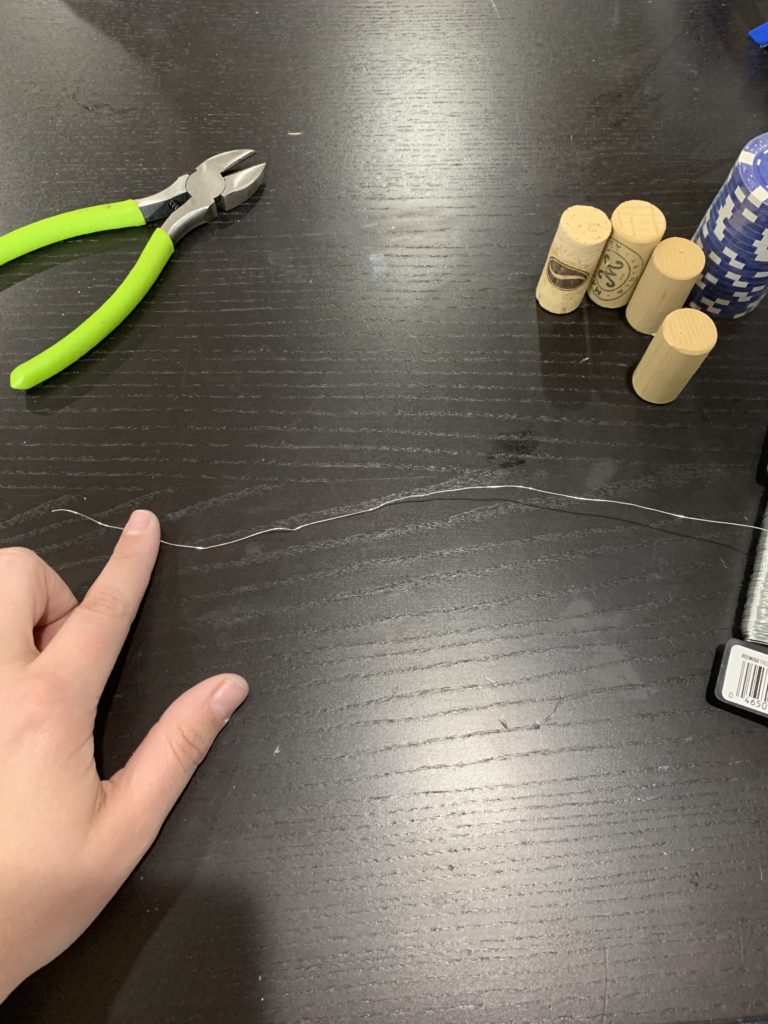
Step 5. While you are waiting on the hot glue to dry, you will form the wire loop which will hold the card. Cut the wire to be ~7″ in length. After cutting the wire, you will form a loop on one end. I found making 3 loops works the best.
Cut the wire and form the loops.
Step 6. Using a needle poke a small hole in the cork. I found this made it easier to put the wire into the cork.
I used a large needle to put a small hole in the cork.
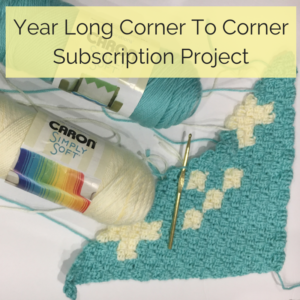
Our new crochet pattern book
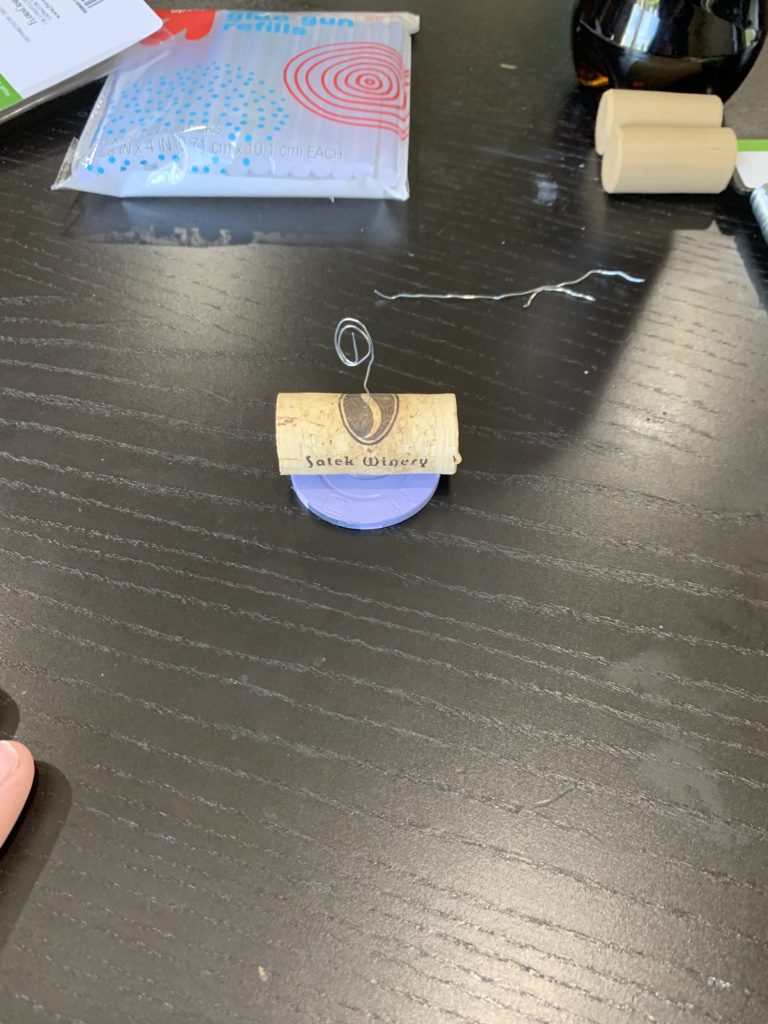
Step 7. After poking a small hole, insert the wire that you had made the loop with. You will put the straight end into the cork.
The wire should be placed in the cork like this.
Step 8. The holders are now complete, and it’s time to start making the actual cards. I made the name cards (which are printed on cream cardstock) in Microsoft Word. In Word, I made a table with 3 columns where each cell had a width of 2.5′ and a height of 0.6″. I typed the names each cell using Lucida Handwriting font 13. My husband also had a few young cousins attending, so I used Kristen ITC font 14 for their cards. I thought this font looked like something a little kid would write.
Step 9. Print the Microsoft Word document on the cream card stock. After printing, you will cut each name card out.
Step 10. Next, I used my Cricut to cut out the accent color portion of the place card. I made a table in Microsoft Word that I snipped and saved. If you are interested, I used the image below for this project. I imported this image to the Cricut Design Space. You will expand this so it will be approximately 12″ wide. You want it to fit on the 12×12 mat.
The table used to cut accent color portion of the place cards. Click the image for the actual size photo.
Step 11. Cut the card using the Cricut. After cutting, you will remove the accent color portion of the place card from the mat.
Step 12. Using a glue stick, glue the cream cardstock name plate to the accent card in the middle. You will want to try to place the cream cardstock in the exact middle of the accent cardstock.
Step 13. Once you have your table assignment complete, you will need to write a table number on the card. I used a purple Sharpie pin to write the table numbers, but you can use any marker of your choice.
Step 14. You can then place the name card on the poker chip wine cork holder using the loops. The image below shows an example.
Completed Place Card!
The place cards are complete! I received many compliments on these place cards. Hope you can use this tutorial for your own wedding escort cards!
If you liked this tutorial, check out our other wedding decor tutorials:
Disclosure: CraftEaze is a participant in the Amazon Services LLC Associates Program, an affiliate advertising program designed to provide a means for sites to earn advertising fees by advertising and linking to Amazon.com and affiliate sites.
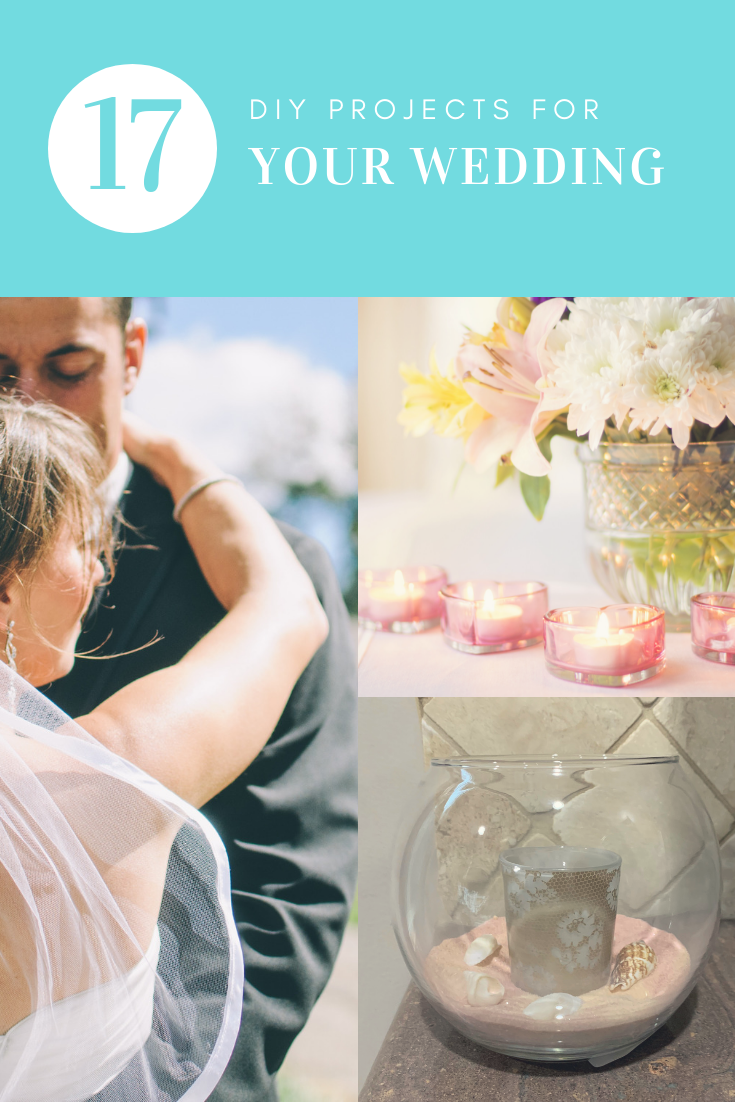
Most girls have dreamed about their wedding day since they were young. But sometimes our dream wedding is outside of our budget. Other times we want to be more involved in making the decoration. In both cases, DIY projects are the bride’s best friend. Keep in mind there are certain things that may be better left to the professionals, but there are many things that you can easily DIY.
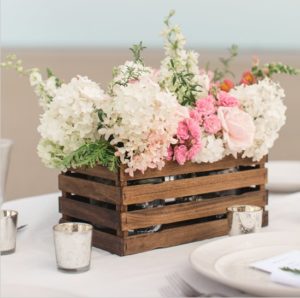
This centerpiece is so cute. It would be great for a summer wedding that is at a barn or plantation house. It would also be great for a beach or vineyard wedding. The instructions for this centerpiece can be found here. Another set of instructions can be found here.
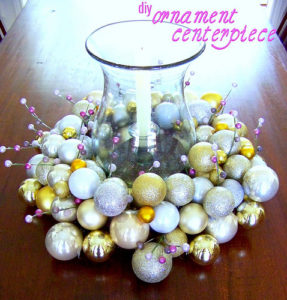
Winter weddings can make use of many Christmas decorations. This centerpiece uses the Christmas ornaments to give the table a pop of color. You can find ornaments in your wedding colors for these centerpieces. To learn how to make this centerpiece, visit https://hisugarplum.com/christmas-ornament-centerpiece/.
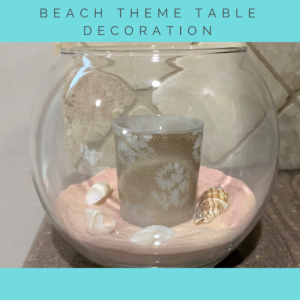
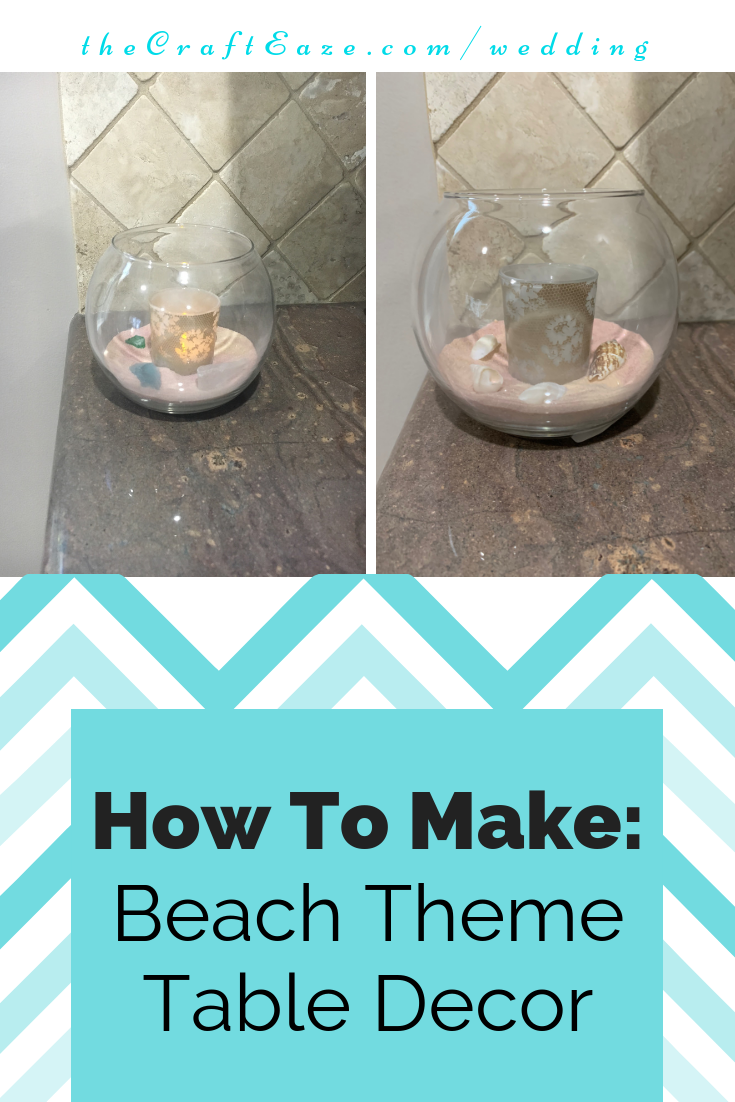
3. Beach Theme Centerpiece
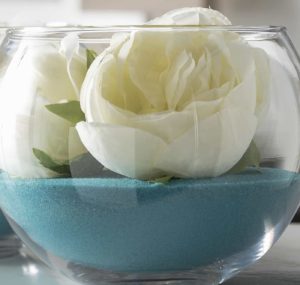
This centerpiece is perfect for a beach wedding. This centerpiece uses sand and a votive candle holder in addition to seashells or sea glass. The instructions for these centerpieces can be found here.
This is perfect for a winter wedding. It uses pinecones as an accent. The jar is frosted to look like snow. A candle is placed inside the jar which provides a soft glow to the centerpiece. You can find the instructions here.
This is another winter wedding centerpiece. Right now I am really into winter wedding centerpieces. A large reason for my sudden interest is probably because Christmas is a little over a month away. This centerpiece can give your wedding a rustic feel. You can find the instructions here.
This project is so cool! It uses paintsticks to make flower box that can be used a centerpiece, by the guestbook, or on the gift table. You can find the instructions for this project here.
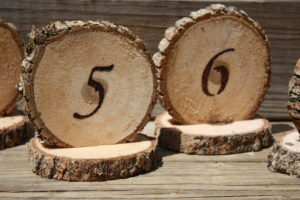
These table numbers are very easy to make and would be perfect for a rustic wedding. You can make these table number using wood slices and a fancy stencil. You will use the stencil to draw the number in the middle of the wood slice. After tracing the number from the stencil you will paint in the number using a black paint pen.
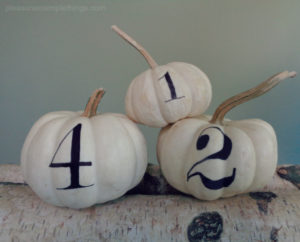
Pumpkins are the perfect decoration for fall. And these table numbers are perfect for a fall wedding. You can paint the table number (using a fancy stencil and black paint pen) on the pumpkin.
These table numbers will be a great addition to your beach wedding. The numbers can be made to be as unique as you. You can find the instructions for this project here.
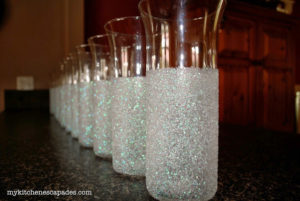
If you are planning an elegant ballroom wedding or a winter wedding, these glitter vases would be the perfect centerpiece. These vases are easy to make and only uses Mod Podge and glitter. You can find detailed instructions here.
These place cards can double as a place card and a coaster. These place cards can also give you a reason to wander down the tile aisle at Lowes or Home Depot and admire the pretty tiles that can be used to backsplashes. You can find the instructions here.
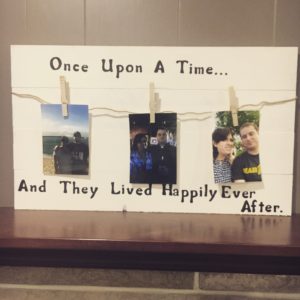
12. Wooden Photo Sign
This sign could be used for several different things at your wedding. It could be used to display the couple’s baby picture in addition to their engagement photo. Or you could also be used to contain the parents of the couple wedding picture in addition to the couples engagement photo. It could also be used as a tribute to those family members who could not attend the wedding. You can find the instructions for this project here.
13. Seashell Candles
These seashell candles would be perfect for a beach wedding. My fiancee’s cousin got married a year or so ago and had similar candles that used oyster shells instead of seashells. You can use these candles as part of a centerpiece or as a party favor.
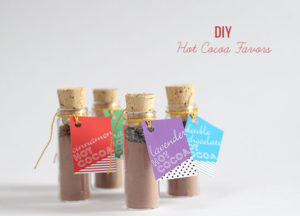
A hot cocoa wedding favor is sure to please your guests at your winter wedding. What is really fun about this project is that you can make several different types for your guest to chose from. You can also try many amazing types of hot cocoa! You can find the instructions for these DIY hot cocoa favors here.
Who doesn’t love s’mores? An s’mores kit would be the perfect wedding favor for the couple that loves bonfires or camping. Your guest would love this tasty kit. You can learn how to make these favors here.
16. Rustic Milk Can Vase
This vase would be a perfect centerpiece for a rustic wedding. The glass milk can is painted in a color to match your wedding colors. You can buy a kit to make these vases here.
Are you looking for a banner to display where you will be sitting for the night? This DIY banner is perfect for the couple’s chair. It is glittery enough to sparkle as the lights go down low for the dance. You can find the instructions to make this banner here.
Disclosure: CraftEaze is a participant in the Amazon Services LLC Associates Program, an affiliate advertising program designed to provide a means for sites to earn advertising fees by advertising and linking to Amazon.com and affiliate sites.
So I have been engaged for almost a month now, and I have started thinking about what type of wedding decor we will have. Because I have been thinking of decor, I have come up with some cool ideas that might not really work for my wedding but might work for someone else.
One idea that I came up with was a table decoration for a beach themed wedding. Now since we live in the middle of Ohio and I grew up in the middle of Missouri a beach theme wedding doesn’t make a lot of sense for my fiance and me. But I think it is fun to come up with decor ideas for a variety of weddings.
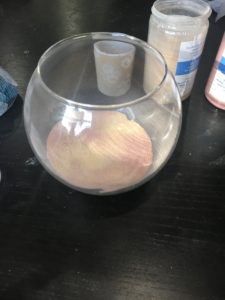
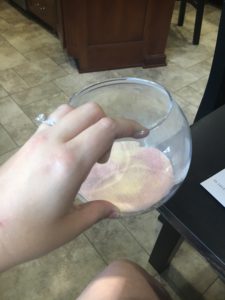
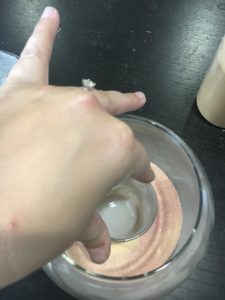
So I was wondering around Pat Catan’s and found this super cute votive candle holder. The candle holder (which you can see below) is the perfect combination of vintage and elegant. I thought this votive holder would look cute for a vintage/rustic wedding, but also a beach wedding.
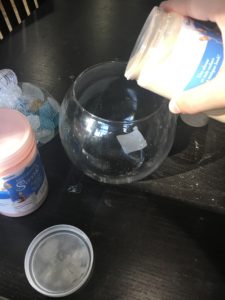
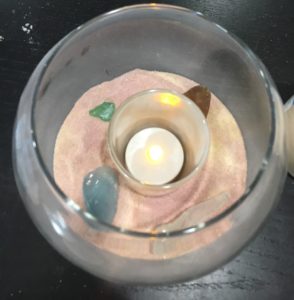
After I found the holder, I went looking for sand and sea glass/seashells. I decided to use two different colors of fine sand. By using the two different colors, I felt it kinda created a look similar to a sand ceremony. It is always cool watching a sand ceremony. I like watching as the bride and groom pour their uniquely colored sand into a vessel. As they pour the sand, the two colors create a pattern that is unique and the sand cannot be easily separated.
The CraftEaze store has a kit to make 4 of these table decorations. You can find the kit here.
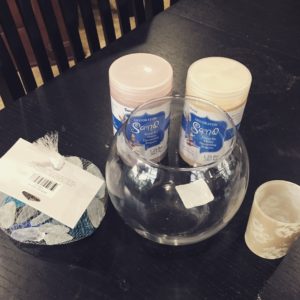
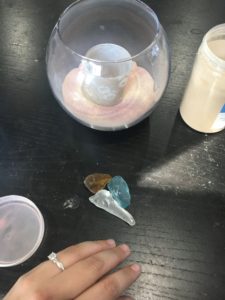
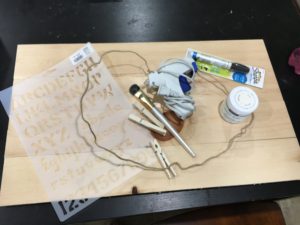
Materials
Materials for Project
For this project you will need the following materials:
Disclosure: CraftEaze is a participant in the Amazon Services LLC Associates Program, an affiliate advertising program designed to provide a means for sites to earn advertising fees by advertising and linking to Amazon.com and affiliate sites.
Are you looking for a cool way to display photos at your wedding? Or even for an easy DIY project to hang up photos of your kids? If so, look no further then this project. In this post, I will teach you how to make a wooden photo sign. If you like this project, then be sure to check out our other how-to posts (Wooden Wedding Sign and Unique Notebook).
CraftEaze also sells a kit to make this project. You can find our kit here.
Instructions
Step 1: Paint the wooden panel with the white chalk paint. You will need to apply 2 coats.
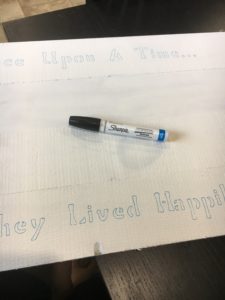
Step 2: While the chalk paint dries, determine the saying you would like on the sign. Here are a few examples for a wedding:
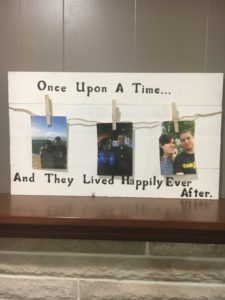
Once upon a time… And they lived happily ever after.
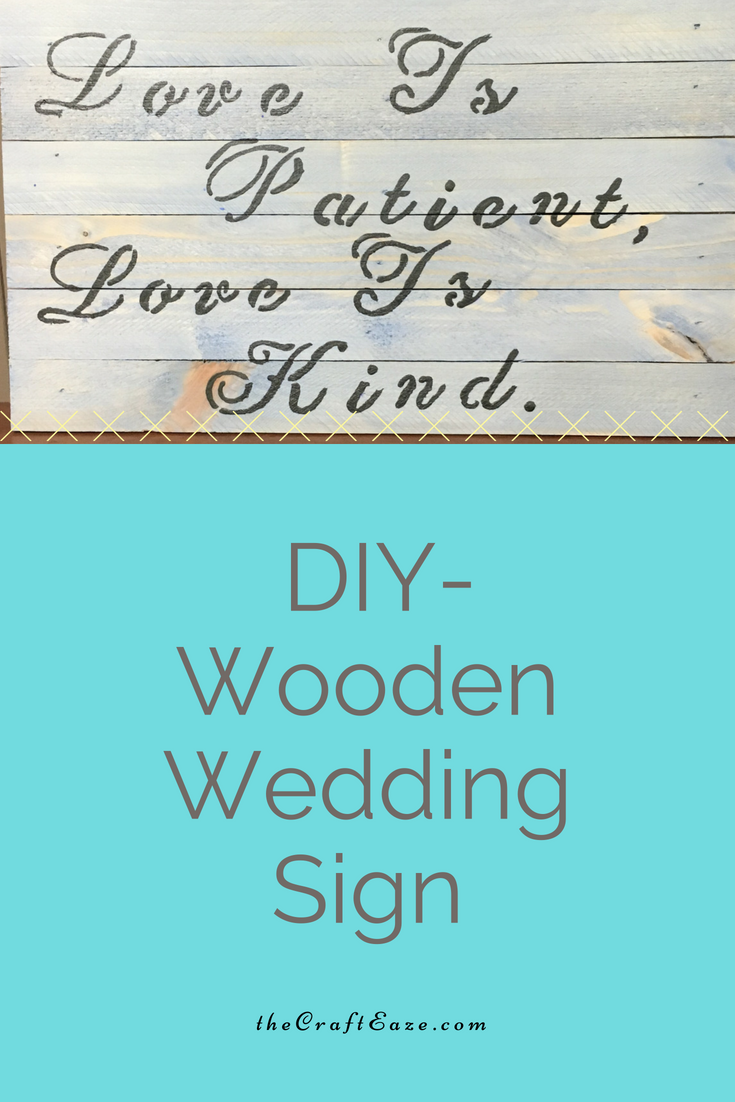
Love is patient, love is kind
God bless the broken road, that led me to you
If heaven wasn’t so far away.
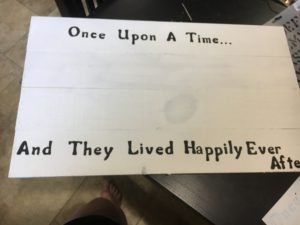
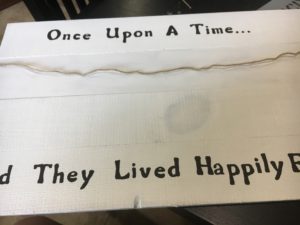
Step 3: After the paint dries, you will trace the saying onto the board using an ink pen and stencil.
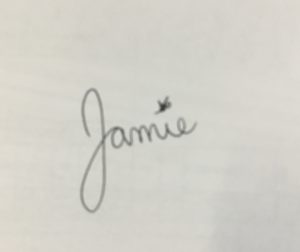
This is what the sign should look like after tracing the saying.
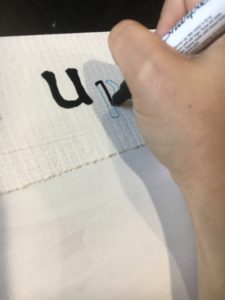
Step 4: Paint inside the traced lines. You will want to connect the different parts of the letters (like the base of the L to the verticle part of the L).
Step 5: After you finish painting the letters, allow the paint to dry. Below is what my photo signed looked like after painting the letters.
Step 6: After the paint dries, you will determine the amount of twine needed for the sign. The amount will depend on how much slack you would like. You will need several extra inches to glue the twine to the back of the sign.
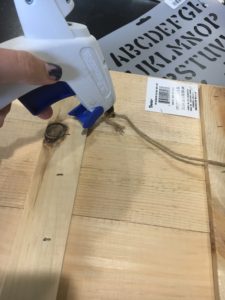
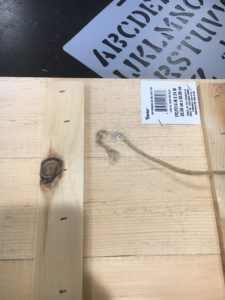
Step 7: Glue the ends of the twine to the back of the sign using the hot glue gun.
Step 8: Allow the hot glue to cool. The hot glue dot should look like the image below. You will need to hold the twine into the glue until it well joined.
Step 9: After the glue dries, you can flip it over and add the photo to the sign using the clothespins.
Disclosure: CraftEaze is a participant in the Amazon Services LLC Associates Program, an affiliate advertising program designed to provide a means for sites to earn advertising fees by advertising and linking to Amazon.com and affiliate sites.
So if you are like me, I bet you have probably been scanning Pinterest for the last several years. I bet you have scanned it while watching tv, eating lunch alone when you’re supposed to be working, or even when you are trying to avoid an awkward conversation with an acquaintance who you may not be very fond of. I have scanned Pinterest for recipes, craft ideas, and home decor ideas. However, I have to say one of the things I have spent a lot of time on Pinterest looking at is things related to weddings. Even when I was not dating someone, I spent a lot of time looking at ideas for wedding decor, table settings, bouquets, and the best readings for a Catholic wedding. It is fun to daydream what my future wedding would be like or even try to guess how much a Pinterest wedding would cost.
One of the wedding trends on Pinterest that I think can be very elegant (if done correctly) is the rustic wedding. I like that it gives a new life to old things with a modern twist. It is also great for brides on a budget because it can be DIY or even use things you find at a garage sale. One item that seems always pops up in the rustic wedding pins is the wooden sign. These signs can have a variety of different things written on them. Pinterest has wooden signs with love quotes like “Love is Patient, Love is Kind”, signs with important dates (like their first date, proposal date, and wedding date), signs pointed to the gift table/cake table, or even signs with signature drinks listed on them.
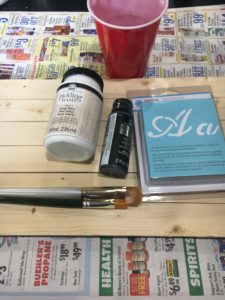
This post will go over the steps to make an awesome wooden sign. You can use this sign at your amazing wedding, but you can also make a sign to hang in your home. One jar of pickling wash and 2 oz bottle of acrylic paint can be used to make multiple signs. You can buy a kit at our store here.
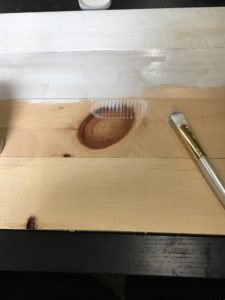
Step 1) Put down a newspaper to prepare your work area.
Step 2) Apply the pickling wash to the board. Let the pickling wash soak in for about 30 seconds and then wipe away the excess wash. You will need to apply at least 2 coats.
Step 3) Wait about 30 minutes to 1 hour for the board to be dry to the touch. During this time you can figure out what you would like to put on the sign.
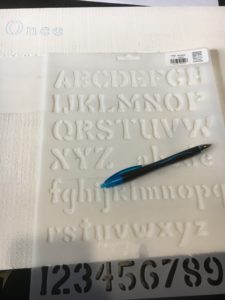
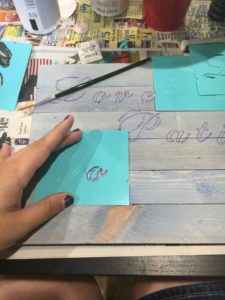
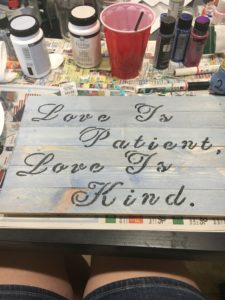
Step 4) Using the stencil kit, ruler, and ink pen/pencil trace out the phrase that you would like on the sign.
Using the stencil kit, ink pen, and ruler trace the quote.
Once the lettering is done, you will start to paint the lettering.
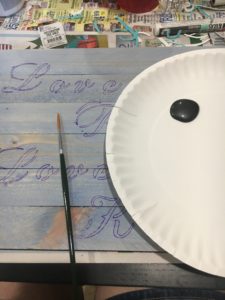
Step 5) You will need to paint inside the marks on the boards with the small paintbrush. Try to carefully cover up the marks. However, don’t worry if there is still a little bit of the pen/pencil marks showing. These small marks will be difficult if not impossible to see.
Paint between the pen/pencil marks with the black paint and small brush.
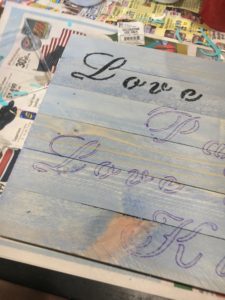
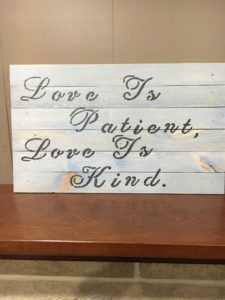
Step 6) Allow for the acrylic paint to dry. After it drys it is ready to be displayed.
It’s time to let your finished creation dry!
Here is my finished creation sitting on my fireplace. Hope you have fun making this sign.