Disclosure: CraftEaze is a participant in the Amazon Services LLC Associates Program, an affiliate advertising program designed to provide a means for sites to earn advertising fees by advertising and linking to Amazon.com and affiliate sites.
So life has been crazy for the last few months! But I really have a good excuse, I got married! So the few months leading up to the wedding I didn’t really have time to put towards CraftEaze. Also, I was working on some cool projects during this time period, but I didn’t really want to post on Facebook or Instagram so my friends and family would be surprised when they saw everything at the reception.
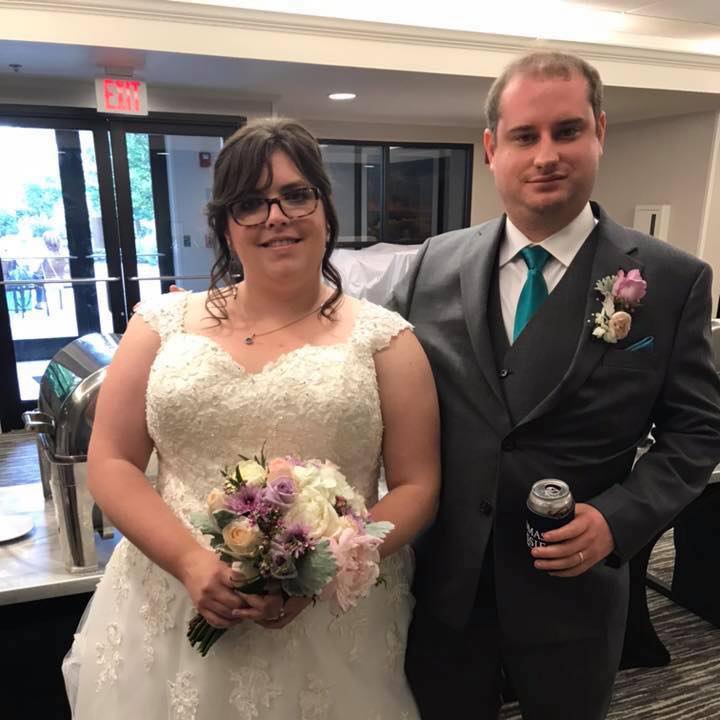
However, the wedding is over and the thank you notes are in process. So that means I have time for CraftEaze again and also I can share the different projects I worked on for the wedding. We made a lot of decorations for the wedding/reception. My husband even designed a coozie that pretty much described the wedding planning process for us. Today, I am going to write about a project I enjoyed making and am excited to share with you all!
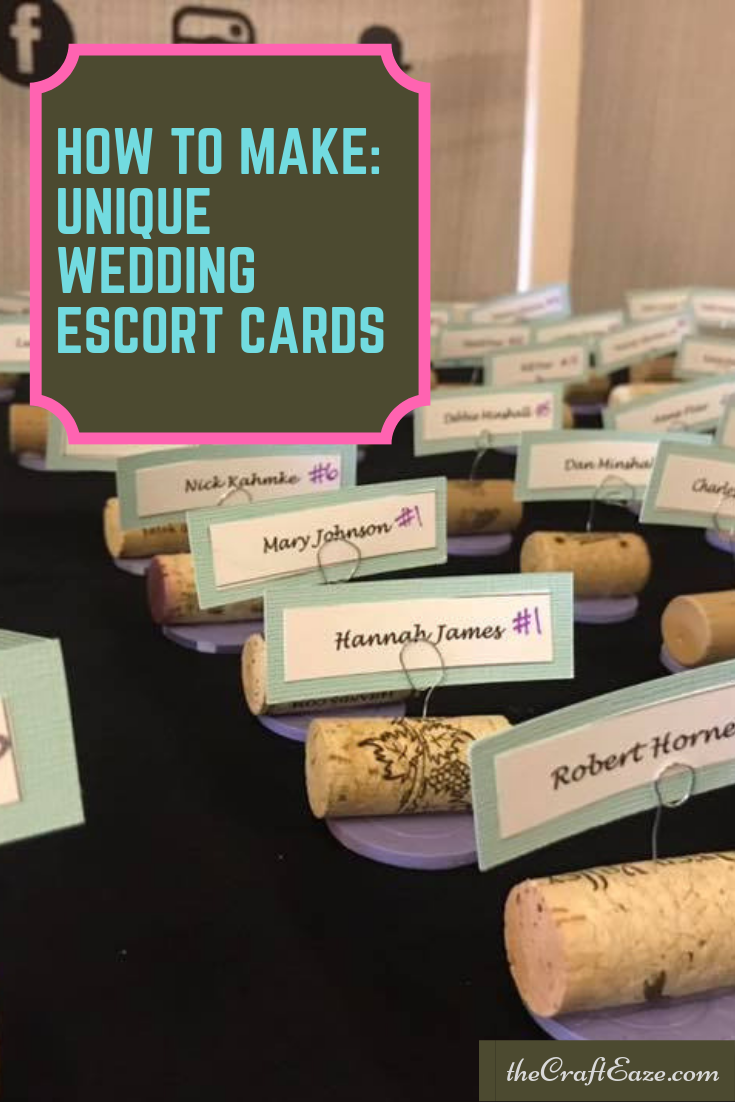
So for my wedding place cards, I knew I wanted to use wine corks. I had been saving corks for almost 2 years for a special project, and this seemed like the perfect project. But I didn’t really want them to look like every other wine cork escort card. After researching how to cut a cork, I became a little overwhelmed by how long it would take to cut all of the corks. So I came up with another way. The following instructions document the process that I came up with.
Materials Needed
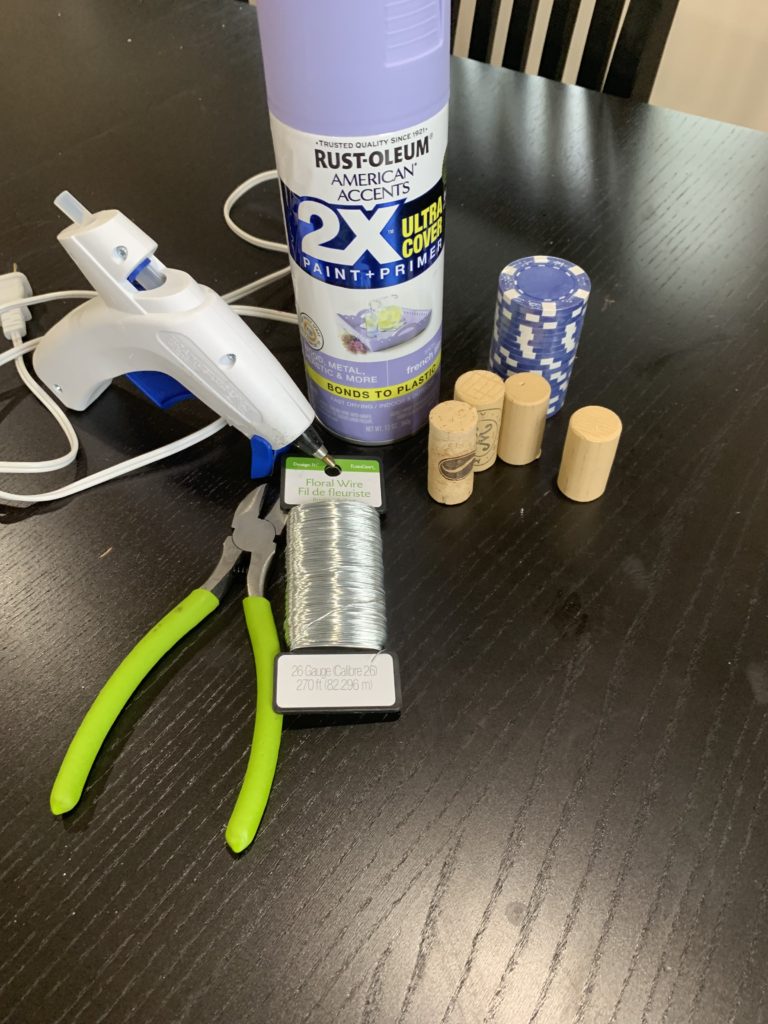
- Spray Paint In Accent Color Of Your Choice – I used light purple.
- Poker Chips – I like these because they are on the thicker side and as a result a little more stable.
- Wine Corks – You can either buy wine corks from Amazon or another craft supplier or you can save them. My husband is convinced the wedding was just an excuse for me to drink wine.
- Floral Wire
- Wire Cutters
- Hot Glue Gun With Glue Sticks
- Card Stock In Accent Color– I used teal.
- Cream Card Stock – You will want this card stock to be a size that can fit in your printer.
Instructions
Step 1. Lay out the poker chips.
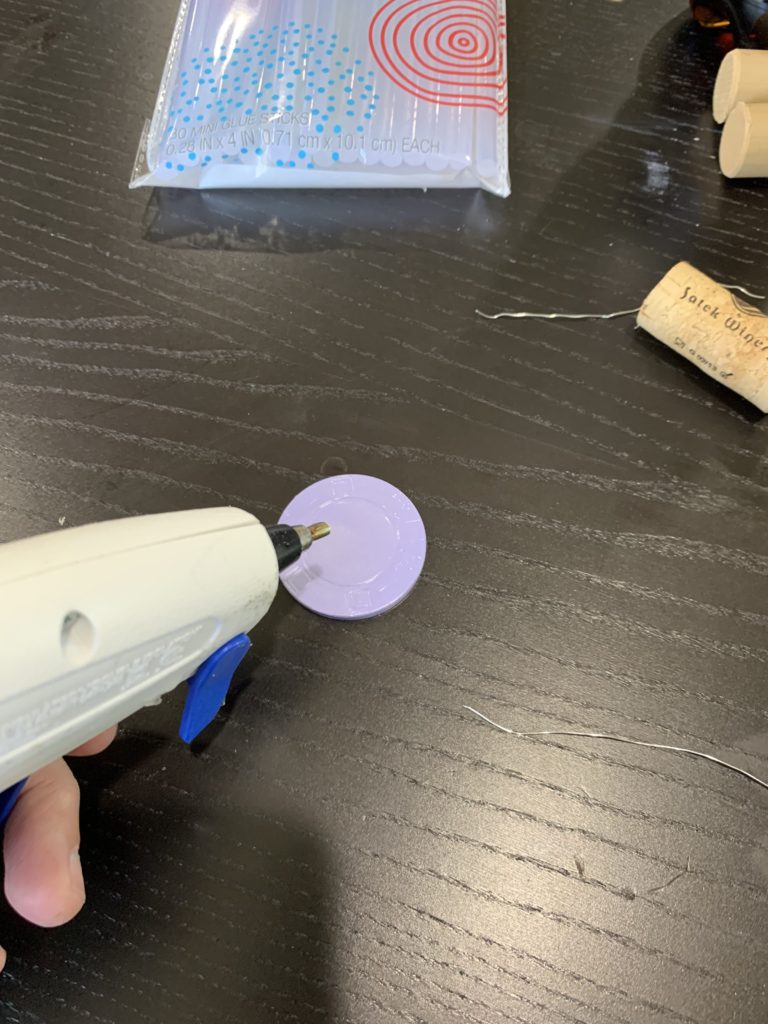
Step 2. Spray paint the poker chips.

Step 3. Let the poker chips dry. I spray painted my chips in the yard and then left them to dry under my covered front porch for a night.
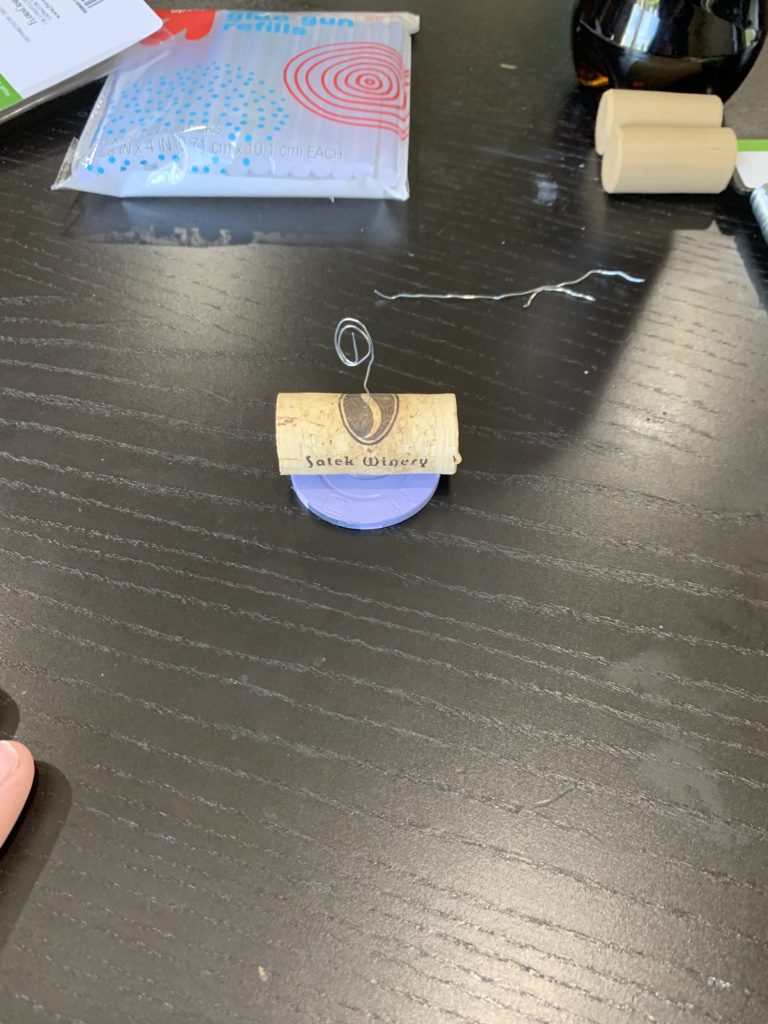
Step 4. Using the hot glue gun, glue the cork to the painted poker chip. Since I had corks from a variety of different wineries, I tried to glue them so the name of the winery or design was easily displayed.

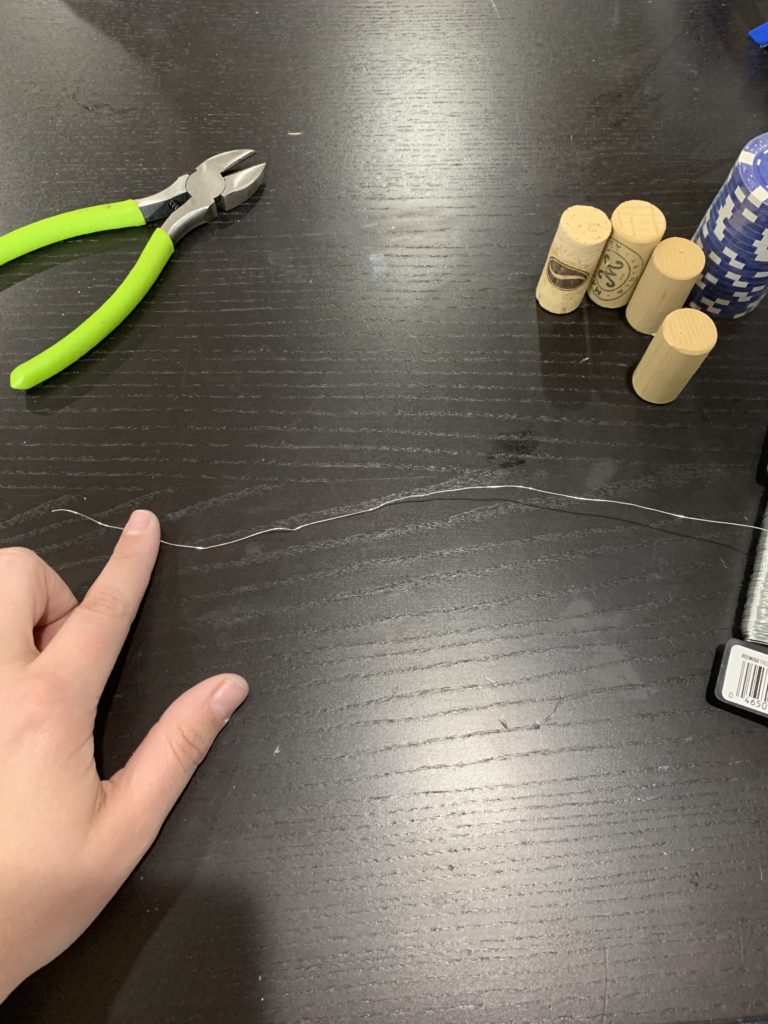
Step 5. While you are waiting on the hot glue to dry, you will form the wire loop which will hold the card. Cut the wire to be ~7″ in length. After cutting the wire, you will form a loop on one end. I found making 3 loops works the best.
Step 6. Using a needle poke a small hole in the cork. I found this made it easier to put the wire into the cork.
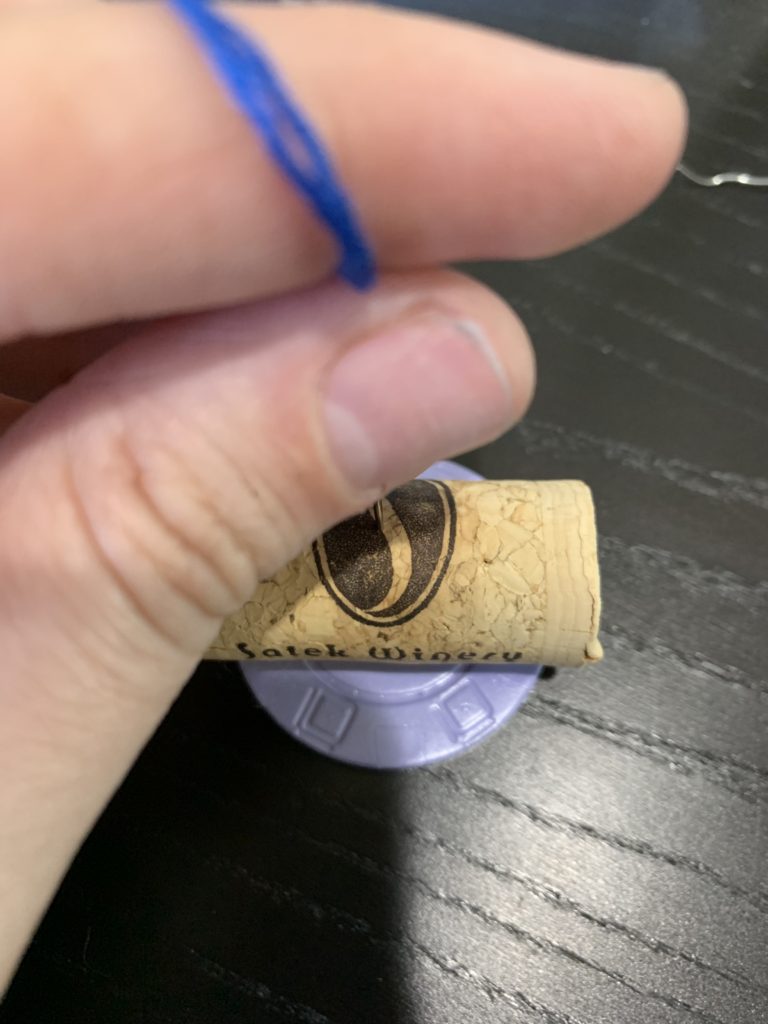

Step 7. After poking a small hole, insert the wire that you had made the loop with. You will put the straight end into the cork.
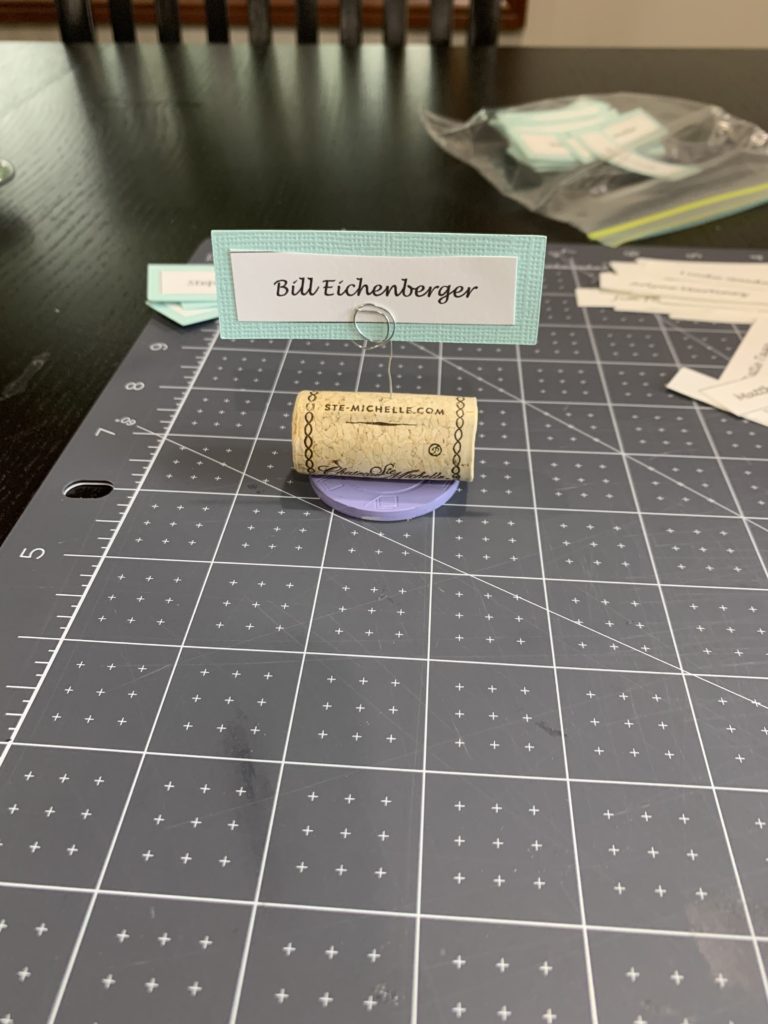
Step 8. The holders are now complete, and it’s time to start making the actual cards. I made the name cards (which are printed on cream cardstock) in Microsoft Word. In Word, I made a table with 3 columns where each cell had a width of 2.5′ and a height of 0.6″. I typed the names each cell using Lucida Handwriting font 13. My husband also had a few young cousins attending, so I used Kristen ITC font 14 for their cards. I thought this font looked like something a little kid would write.
Step 9. Print the Microsoft Word document on the cream card stock. After printing, you will cut each name card out.
Step 10. Next, I used my Cricut to cut out the accent color portion of the place card. I made a table in Microsoft Word that I snipped and saved. If you are interested, I used the image below for this project. I imported this image to the Cricut Design Space. You will expand this so it will be approximately 12″ wide. You want it to fit on the 12×12 mat.

Step 11. Cut the card using the Cricut. After cutting, you will remove the accent color portion of the place card from the mat.
Step 12. Using a glue stick, glue the cream cardstock name plate to the accent card in the middle. You will want to try to place the cream cardstock in the exact middle of the accent cardstock.
Step 13. Once you have your table assignment complete, you will need to write a table number on the card. I used a purple Sharpie pin to write the table numbers, but you can use any marker of your choice.
Step 14. You can then place the name card on the poker chip wine cork holder using the loops. The image below shows an example.
The place cards are complete! I received many compliments on these place cards. Hope you can use this tutorial for your own wedding escort cards!
If you liked this tutorial, check out our other wedding decor tutorials:
Happy Crafting!

I was looking at some of your articles on this site and I believe this internet site is really instructive! Keep on posting .