Some links posted below may be affiliate links which means I’ll earn a tiny commission if you purchase through them.
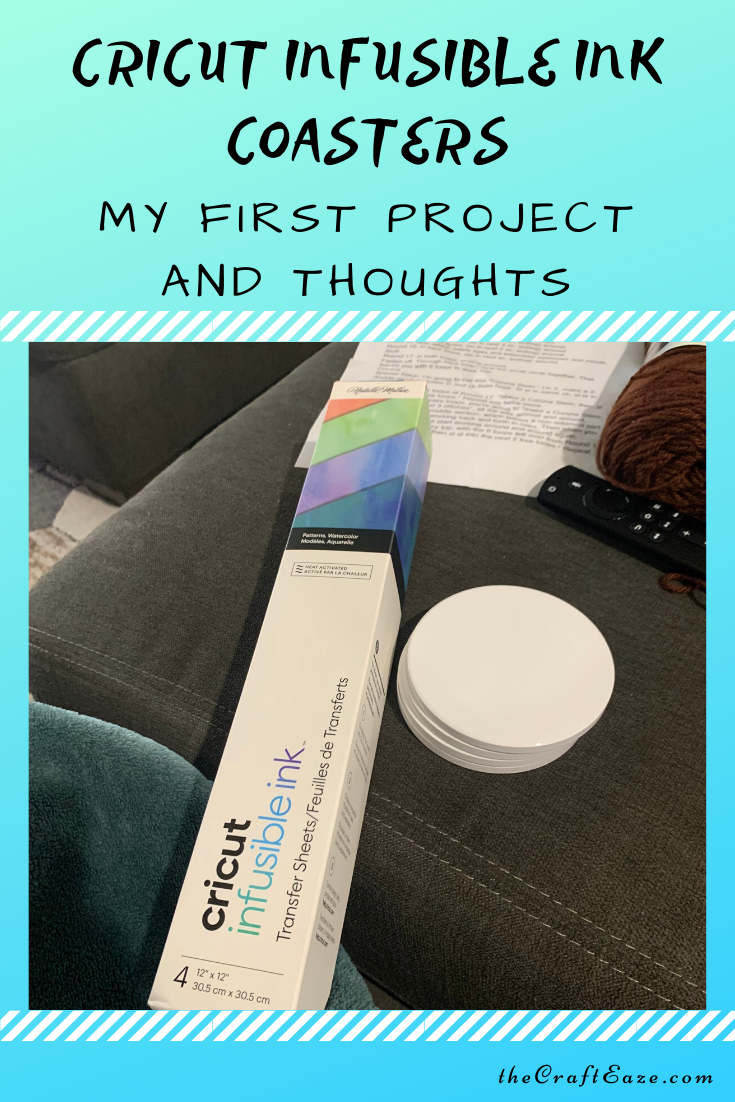
This week I’m off work, but my husband is still working from home due to the coronavirus. Normally, if I was off work I would be doing something outside our house, but due to our current stay at home order, I am using this time to try new things. Today, I tried the Cricut Infusible Ink for the first time. My first project was coasters!
So one way I have been calming my nerves related to the virus is by crafting. I am also trying to make sure I have a way to remember everything that is going on. So I decided to make coasters that represent our lives during the past month. I am not trying to be insensitive. I just wanted to throw that out there.
Supplies
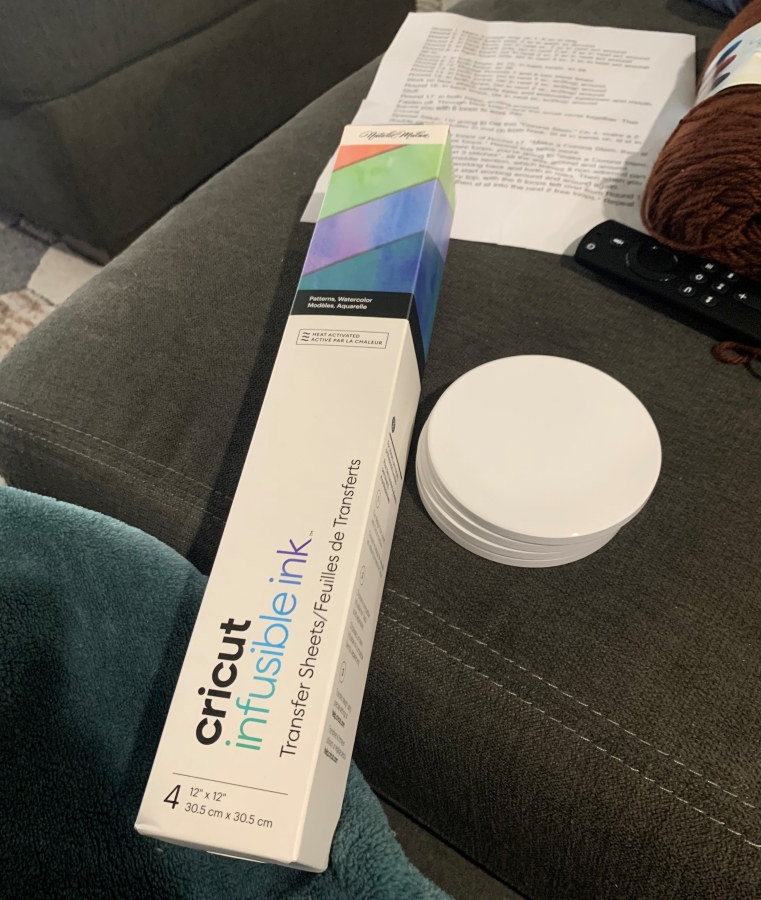
For this project I used the following supplies:
- Cricut Infusion Ink Paper
- Cricut Standard Grip Cutting Pad
- Laptop
- Cricut Explore Air 2
- Cricut Circular Coaster Blanks
- Tweezers from the Cricut Basic Tool Set
- Cricut Easy Press 2 is recommended, but I used the original Cricut Easy Press since that is what I currently own.
- Cricut Easy Press Mat
- Cardstock
- Buther Paper
How I Made My Coasters
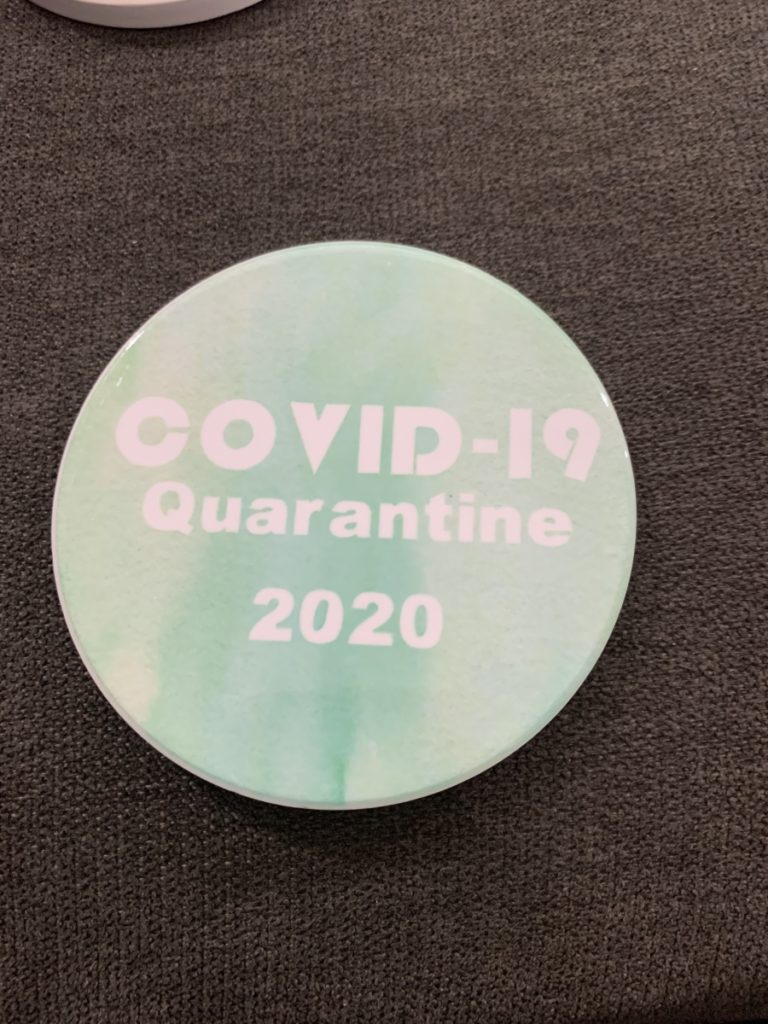
So the first thing I did to makes my coronavirus coasters was to make my design in Cricut Design Studio. This part was kinda fun. I wanted each coaster to be slightly different, so I made each coaster a different color so that each could be cut on its own.

When it was time to cut the designs, I mirrored the images using the toggle button on each sheet. I put the infusion ink paper color side up on the cutting pad. I turned the material dial to “Custom” and I selected “Infusion Ink Paper” on the menu. The design was then cut. After cutting the design, I took the infusion ink paper off the cutting pad and started to weed it. Now I normally cut vinyl with my Cricut, so it was a little strange weeding this material because you do not use the weeding tool. I weeded using my hands and the tweezers.
After weeding the designs it was time to apply the design to the coaster. This is done by a layering technique. First, you lay down the Easy Press Mat on the table. Next, you lay a piece of card stock on top of the mat. This is to protect your mat from the ink. Then, you lay the design on top of the card stock. You will want the color side of the design to be facing up. Next, lay the coaster on top of the design. You will want the glossy side facing the design. Make sure the design and the coaster are centered. Finally, lay the butcher paper on top. This is the last layer.
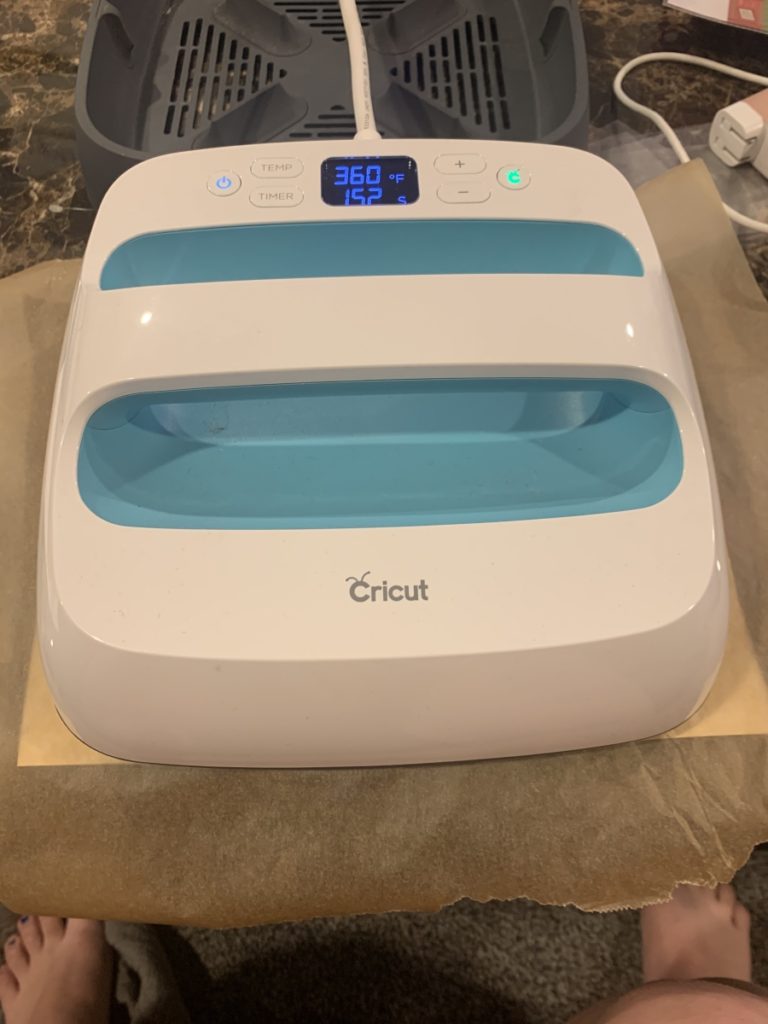
It is now time to do some magic using the Easy Press! So according to Cricut the Easy Press 2 provides the best results because you can set the temperature hotter, but I was successful using my original Easy Press. If you are using the Easy Press 2, you will set the temperature to 400F and set the timer for 240 seconds. For the original Easy Press, I found that if you do 2 cycles with the temperature set to 360F and the timer for 300 minutes you get very vibrant results.
Once the second cycle was completed, I removed the Easy Press from my coaster and placed it back into its holder. I removed the butcher paper and waited for the coaster to cool. Once cooled, I removed the transfer paper from the coaster. The coaster is complete! I repeated this process for the other three coasters.


My Opinion of the Cricut Infusion Ink
Overall, I was really impressed with the Infusion Ink. Even though I only have an originally Easy Press I thought the final product was very vibrant. It was fairly easy to create with this product. Cricut also has several different type of blanks that can be used with this material. I like that I could choose from a square or circle coaster.
One downside is these blanks are kinda pricey, but they are nice blanks. It was also a little hard for me to weed, but I think that is mostly because I’m use to weeding vinyl. My husband and I both thought the ink had a slight smell when the easy press was applied.
All in all, I enjoyed my first project with the Infusion Ink. I can’t wait to use my Infusion Ink coasters in the future. I am sure they will be quiet the conversation starter in a few years!