Disclosure: CraftEaze is a participant in the Amazon Services LLC Associates Program, an affiliate advertising program designed to provide a means for sites to earn advertising fees by advertising and linking to Amazon.com and affiliate sites.
Summertime is official here and the 4th of July is just around the corner. I feel that its really easy to decorate your house/apartment for the 4th. Like if you put out a flag and a red/white/blue tablecloth, everyone compliments you on how festive your place looks. Sometimes, however, you want to put a little more effort into your decorating. This throw pillow is a perfect addition to your 4th of July decor collection.
Here are seven facts about the Declaration of Independence that you may not know.
- 56 people signed the Declaration of Independence.
- Ben Franklin was the oldest signer of the Declaration of Independence (70 years old). Edward Rutledge was the youngest signer of the Declaration of Independence (26 years old).
- 8 signers were actually born in Britain.
- During World War 2, the Declaration of Independence was housed in Fort Knox along with the Constitutions.
- Thomas Jefferson wrote the Declaration of Independence, but the entire Continental Congress edited the document.
- The USA technically celebrates the ratification of the Declaration of Independence and not the signing. on July 4, 1776, the Continental Congress voted to ratify the Declaration of Independence. The date it was signed is disputed, but most historians believe it was signed on August 2, 1776.
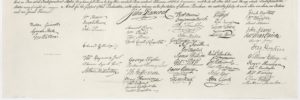
- The names are not randomly oriented. John Hancock signature was in the middle as he was the president of the Continental Congress. The other 55 signatures are grouped by colony. The order of the colonies was based on geography. The most southern colony (Georgia) was first and the most north colony was last. The picture below is of the signers of the Declaration of Independence.

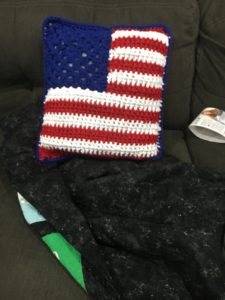
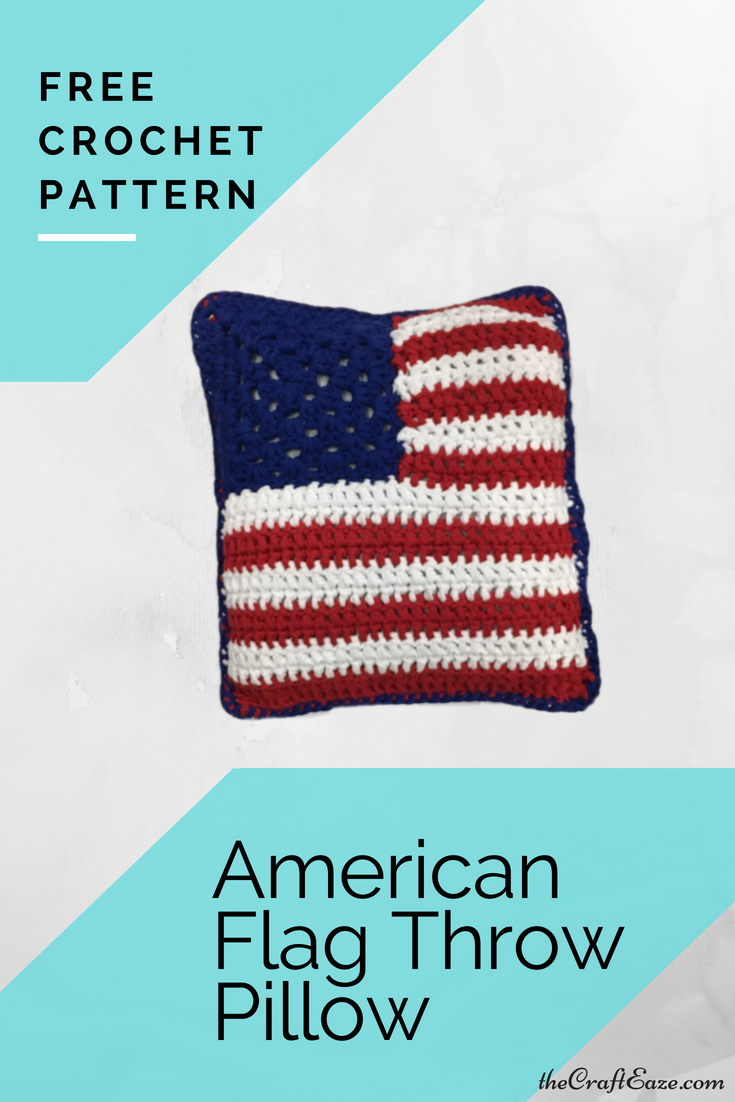
This throw pillow pattern makes use of 2 pieces (one for the front and one for the back). Each piece consists of a blue granny square and a red and white panel. This project is good for beginners as it is very repetitive. It is also a great project for more seasoned crocheter looking for a quick project that they can make in an afternoon. The granny square gives the appearance of stars. There are 13 stripes in the panel, to represent the 13 original colonies. You can purchase a printable version of this pattern here or a kit to make this project at thecrafteaze.com/individual_projects.
Feel free to sell any finished throw pillow that you make from this pattern, but I would appreciate credit as the designer of the pattern. You CANNOT use my photos to sell your throw pillow. Also please do not sell my pattern as your own.
Supplies
- L-11 US (8.0 mm) Crochet Hook
- 1 skein Lion Brand Fast Track Yarn – Airstream White
- 1 skein Lion Brand Fast Track – Racecar Red
- 1 skein Lion Brand Fast Track – Bicycle Blue
- 14″x14″ Pillow Form
Abbreviations
ch = chain
sc = single crochet
dc = double crochet
* * = work directions between stars the number of time specified.

Blue Granny Square (Make 2)
Round 1: Using the blue yarn, chain 3. 2 dc into the first chain (this makes 3 dc cluster). Chain 2 *3 dc, ch 2* 3 times. Slip stitch into the top chain of the first “chain 3” to close the round.
Round 2: Chain 3, 2 dc into the same corner as the ch 3. *3 dc, 2 ch, 3 dc* in the next 3 corners. 3 dc followed by 2 ch in the last corner. Slip stitch to the top of the first chain 3 to close the round.
Round 3: Chain 3, 2 dc into the same corner as the ch 3. *Make 3 dc in the space and then make 3 dc, 2 ch, 3dc * 3 times. Make 3 dc and 2 ch in the last corner. Slip stitch to the top of the first chain 3 to close the round.
Round 4: Chain 3, 2 dc into the same corner as the ch 3. *Make 3 dc in the next 2 spaces and then make 3 dc, 2 ch, 3dc * 3 times. Make 3 dc and ch 2 in the last corner. Slip stitch to the top of the first chain 3 to close the round.
Round 5: Chain 3, 2 dc into the same corner as the ch 3. *Make 3 dc in the next 3 spaces and then make 3 dc, 2 ch, 3dc * 3 times. Make 3 dc and 2 ch in the last corner. Slip stitch to the top of the first chain 3 to close the round. Bind off.
Flat Red and White Panel (Make 2)
With the red yarn, chain 34.
Row 1: Dc in the 3rd chain from your hook (this counts as the first dc). Dc in each chain, turn. (31 dc)
Row 2: Ch 2 (counts as the first dc). Dc in each st to last st, turn. (31 dc)
Row 3: Attach the white yarn. Ch 2 (counts as the first dc), dc in each st to last st, turn. (31 dc)
Rows 4-12: Ch 2 (counts as the first dc), dc in each st to last st, turn. Switch back between the red and white yarn every 2 rows. (31 dc)
Row 13: With the red, ch 2 (count as the first dc), dc in next 13 st, turn (14 dc).
Row 14-26 : Ch 2 (counts as the first dc), dc in each st to last st, turn (14 dc). Switch back between the red and white yarn every 2 rows. Bind off the ends.
Finishing
Join the blue square to the red and white panel, with right sides together with a needle and blue yarn. The panel should now look like a flag.
Join the two flag panels with the wrong sides together with the blue yarn. Join with a sc around 3 sides of the panels. Insert the pillow and finished joining with sc around the last side. With a slip stich join to the first sc. Bind off.

