Disclosure: CraftEaze is a participant in the Amazon Services LLC Associates Program, an affiliate advertising program designed to provide a means for sites to earn advertising fees by advertising and linking to Amazon.com and affiliate sites.
The holiday season is upon us. Thanksgiving is tomorrow and then it will be time to start decorating for Christmas (unless you have already started). There are so many different holiday decorations out there from the Christmas tree to Rudolph and Frosty in the yard to nativity scenes to stockings.

I will probably start to decorate for Christmas this weekend. The last several years, my fiancee and I have put stockings on the fireplace mantle. We both put small presents for each other inside the stocking each year.
I remember opening my stocking every year growing up. My sister and I stockings when we were younger had Mickey Mouse characters on top. When we moved to the new house, I remember we were able to pick out a new stocking and we picked stockings that sorta related to our personalities. A few years back my mom bought new stockings for my sister, her now-husband, my fiancee, and me that all had our names on them and matched.
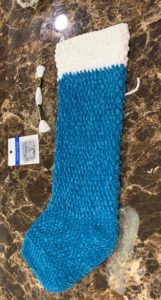
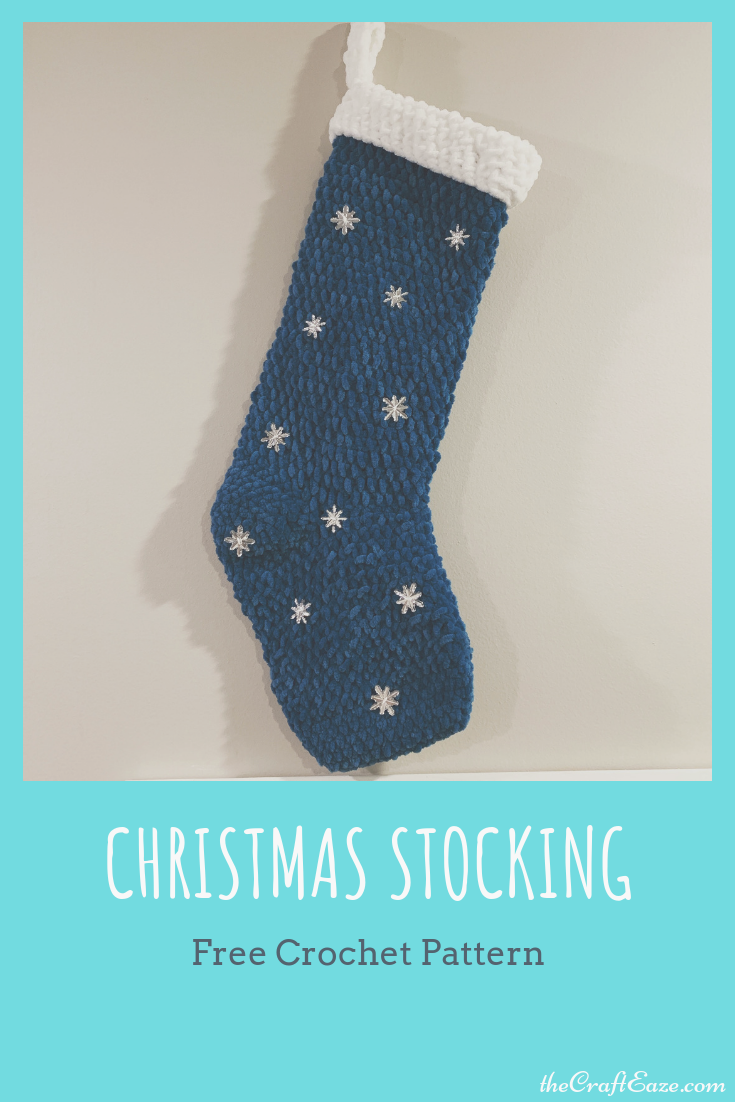
The December CraftEaze crochet project will help you get into the holiday spirit! This month’s project is for a Christmas stocking that has snowflakes on it. This stocking uses bulky yarn, so it works up quickly. You should be able to make the stocking in a couple of evenings or over the weekend. The snowflakes are these cute buttons that I found at WalMart for a couple of dollars.
The crochet pattern can be found below. This stocking is worked from the toe up. We have the kit for sale on our website here. You can also buy a printer-friendly pdf on Etsy.
Materials
- 1 ball Premier Parfait Blueberry Yarn
- 1 ball Premier Parfait White Yarn
- K/10.5 (6.50 mm) Crochet Hook
- Snowflake Buttons
Abbreviations and Stitches
- Ch = Chain (thecrafteaze.com/tutorials/chain)
- Sc = Single Crochet (thecrafteaze.com/tutorials/singlecrochet)
- Hdc = Half Double Crochet (thecrafteaze.com/tutorials/halfdoublecrochet)
- Dc = Double Crochet (thecrafteaze.com/tutorials/doublecrochet)
Guage
Gauge is not super important for this project. A 4” by 4” square is approximately 13 hdc in for 12 rows.
Stocking
Toe (Work in Rounds)
Chain 15.
Round 1: Sc in 2nd chain from hook. Sc in next 13 chains. Sc in the other side of the chain you just made the sc in. Sc in next 13 chain. Join to the 1st sc. Chain 1 (28 sc).
Round 2: 2 sc in the first sc (Place marker in the first sc). Sc in next 13 sc. 2 sc in the next sc. Sc in next 13 sc. Do Not Join (30 sc).
Round 3: 2 sc in the first sc (Place marker in the first sc). Sc in next 14 sc. 2 sc in the next sc. Sc in next 14 sc. Do Not Join (32 sc).
Round 4: 2 sc in the first sc (Place marker in the first sc). Sc in next 15 sc. 2 sc in the next sc. Sc in next 15 sc. Do Not Join (34 sc).
Round 5: 2 sc in the first sc (Place marker in the first sc). Sc in next 16 sc. 2 sc in the next sc. Sc in next 16 sc. Do Not Join (36 sc).
Round 6: Sc in each sc. Place marker in the first sc. (36 sc).
Round 7: Hdc in each sc. Place marker in the first hdc. (36 hdc).
Round 8-18: Hdc in each hdc. Place marker in the first hdc. (36 hdc).
Heel (Worked in rows)
Row 19: 18 sc, turn.
Row 20: Chain 1, sc in the next 17 sc. Turn. Leave 1 sc unworked.
Row 21-25: Chain 1, sc in each sc leaving 1 sc unworked on each row. Turn. Row 25 will have 12 sc.

Row 26: Chain 1, sc in the each sc. Work sc into the unworked sc of the row below. Sl st into the unworked sc in the next row. Chain 1 and turn. (13 sc).
Leg (Worked in Rounds)
Round 32: Sc in each sc. Put marker in first sc (36 sc).
Round 33: Hdc in each sc. (36 hdc).
Round 34-61: Hdc in each hdc. (36 hdc).
Join the white yarn.
Round 62-68: Hdc in each hdc. (36 hdc).
Round 69: Sc in each hdc. Join to the first sc and tie off. (36 sc).
Fold over the white section to have ~1” overlay. You will tact the folded over white section using the white thread.
After tacting the white section, You will add the stars to the stocking using the white thread.
Loop To Hang Stocking
Chain 5.
Row 1: Dc in 3rd chain from the hood. DC in next 2 chains (3 dc).
Row 2: Chain 1, turn. Dc in each of the dc (3 dc).
Repeat row 2 until it is approximately 5” long.
Attach loop to stocking by sewing the two short edges together to the stocking.
Happy Crafting! And Happy Holidays!


