Disclosure: CraftEaze is a participant in the Amazon Services LLC Associates Program, an affiliate advertising program designed to provide a means for sites to earn advertising fees by advertising and linking to Amazon.com and affiliate sites.
So if you are like me, I bet you have probably been scanning Pinterest for the last several years. I bet you have scanned it while watching tv, eating lunch alone when you’re supposed to be working, or even when you are trying to avoid an awkward conversation with an acquaintance who you may not be very fond of. I have scanned Pinterest for recipes, craft ideas, and home decor ideas. However, I have to say one of the things I have spent a lot of time on Pinterest looking at is things related to weddings. Even when I was not dating someone, I spent a lot of time looking at ideas for wedding decor, table settings, bouquets, and the best readings for a Catholic wedding. It is fun to daydream what my future wedding would be like or even try to guess how much a Pinterest wedding would cost.
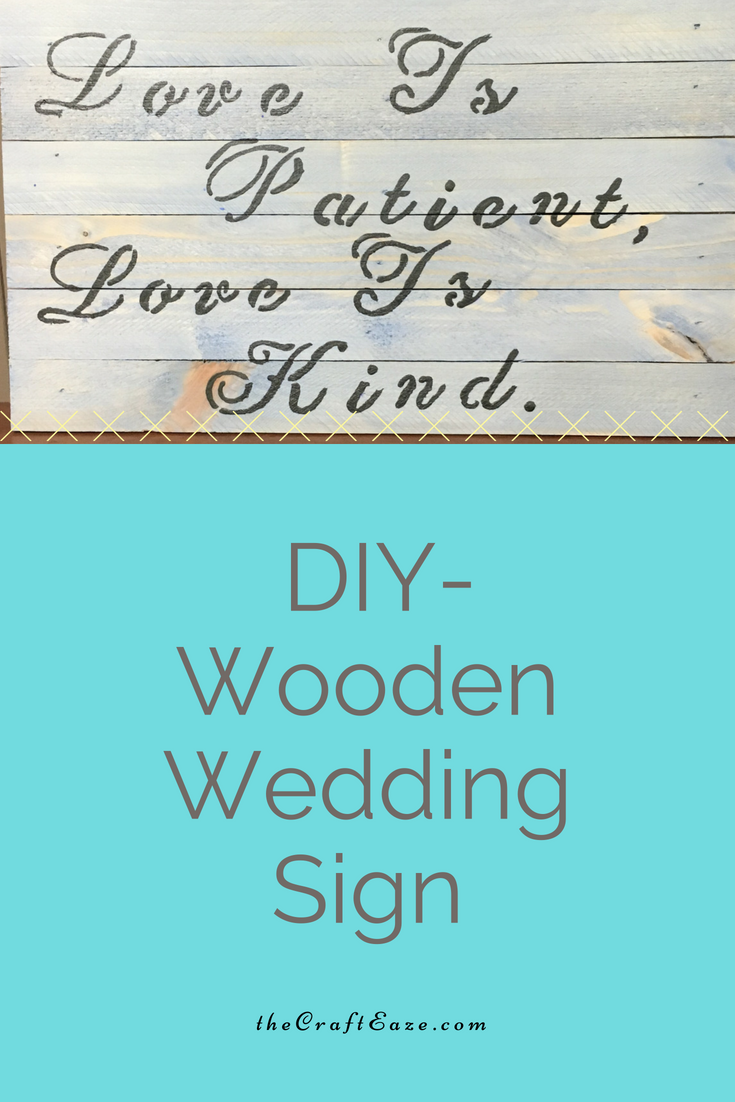
One of the wedding trends on Pinterest that I think can be very elegant (if done correctly) is the rustic wedding. I like that it gives a new life to old things with a modern twist. It is also great for brides on a budget because it can be DIY or even use things you find at a garage sale. One item that seems always pops up in the rustic wedding pins is the wooden sign. These signs can have a variety of different things written on them. Pinterest has wooden signs with love quotes like “Love is Patient, Love is Kind”, signs with important dates (like their first date, proposal date, and wedding date), signs pointed to the gift table/cake table, or even signs with signature drinks listed on them.
This post will go over the steps to make an awesome wooden sign. You can use this sign at your amazing wedding, but you can also make a sign to hang in your home. One jar of pickling wash and 2 oz bottle of acrylic paint can be used to make multiple signs. You can buy a kit at our store here.
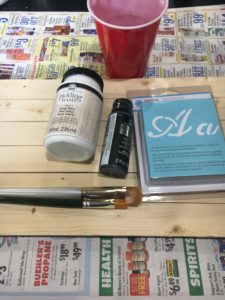
To make this sign you will need:
- 15″x9″ unfinished wooden sign
- Pickling Wash
- Medium Size Brush for the Pickling Wash
- Black Acrylic Paint
- Fancy Lettering Stencil Kit
- Small Size Brush for Lettering and Details
- A Ruler
- A Pencil or Ink Pen
Step 1) Put down a newspaper to prepare your work area.
Step 2) Apply the pickling wash to the board. Let the pickling wash soak in for about 30 seconds and then wipe away the excess wash. You will need to apply at least 2 coats.
Step 3) Wait about 30 minutes to 1 hour for the board to be dry to the touch. During this time you can figure out what you would like to put on the sign.
Step 4) Using the stencil kit, ruler, and ink pen/pencil trace out the phrase that you would like on the sign.
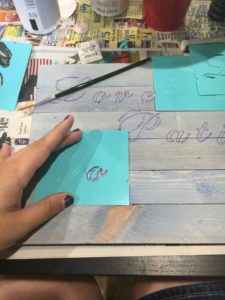
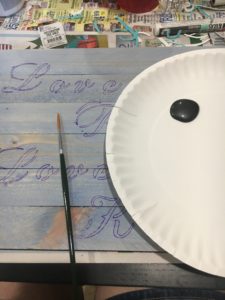
Step 5) You will need to paint inside the marks on the boards with the small paintbrush. Try to carefully cover up the marks. However, don’t worry if there is still a little bit of the pen/pencil marks showing. These small marks will be difficult if not impossible to see.
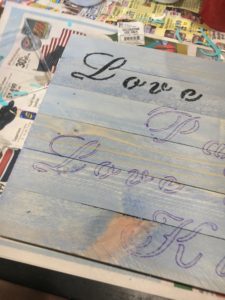
Step 6) Allow for the acrylic paint to dry. After it drys it is ready to be displayed.
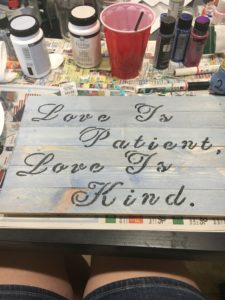
Here is my finished creation sitting on my fireplace. Hope you have fun making this sign.

Happy Crafting!
<3 Jamie

