Disclosure: CraftEaze is a participant in the Amazon Services LLC Associates Program, an affiliate advertising program designed to provide a means for sites to earn advertising fees by advertising and linking to Amazon.com and affiliate sites.
I will be the first person to admit that I’m clumsy. I’m constantly finding new ways to break things or to hurt myself (I will find any hole in a parking lot to twist my ankle in). Just to show the magnitude of my clumsiness, here are a few examples. My first month of college, I broke my LG Shine cell phone (remember those phones that screen was supposed to be like a mirror but never really worked as a mirror) by walking into a table. This wasn’t just an excuse I gave my parents for needing a new phone, I literally walked into the corner of a table with the phone in my pocket and broke the screen. Then a few years back I hurt my foot getting out of bed one morning. I didn’t turn my bedside light on and walked straight into the corner post of my bed. Trust me when I say its pretty embarrassing to have to admit you hurt yourself getting out of bed when you are asked why you are limping.
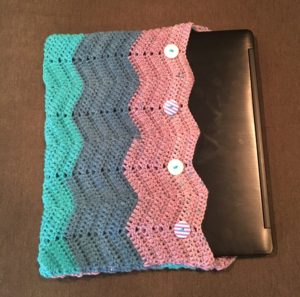
So the reason that I told these two short stories is to give a little background information about why the chevron laptop sleeve was the inaugural CraftEaze crochet subscription box project. I made a few laptop sleeves in the past for my Etsy store and they sold fairly well. So when I mentioned the idea of CraftEaze to my boyfriend, he said the laptop sleeve would be the perfect first project! He thought the laptop sleeve looked cool and could be useful. If a person as clumsy as me can protect my laptop with a sleeve, then it should work for just about anyone.
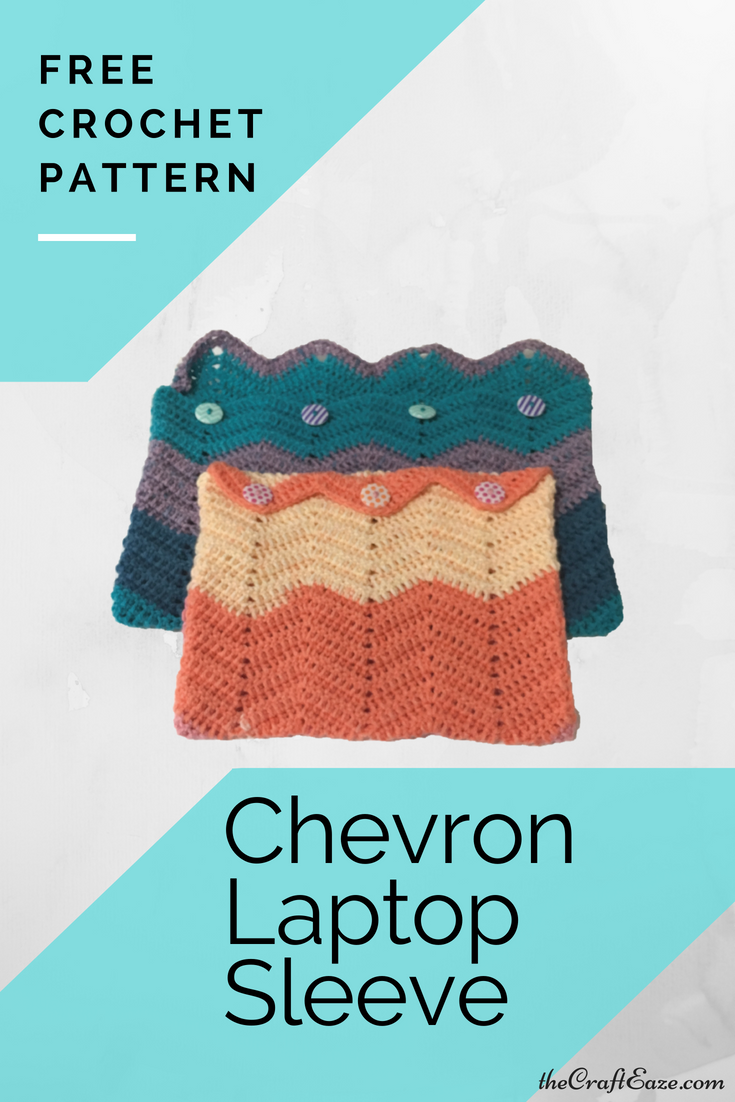
This laptop sleeve pattern contains instructions for both a 14″ and 17″ laptop. It is also a suitable project for beginners as it is very repetitive. It is also a great project for more seasoned crocheter looking for a quick project that they can make in an afternoon. The laptop sleeve is soft and will protect your laptop from scratches. You can purchase a printable version of this pattern at thecrafteaze.com/patterns or a kit to make this project at thecrafteaze.com/individual_projects.
Feel free to sell any finished laptop sleeve that you make from this pattern, but I would appreciate credit as the designer of the pattern. You CANNOT use my photos to sell your laptop sleeve. Also please do not sell my pattern as your own.
Supplies
- Size H – 8 (5.00 mm) Crochet Hook
- ~350 yards of Medium (4) Acrylic Yarn (I used 2 skeins of Premier Yarn Sweet Roll Yarn for this project because it naturally makes wide colorful strips)
- 4 5/8″ or 1″ buttons
Abbreviations
ch = chain
sc = single crochet
dc = double crochet
V-St = V Stich (1 dc, 1 ch, 1 dc all in same chain or space)
* * = work directions between stars the number of time specified.

For 17” Laptop:
Ch 71.
Row 1 (Right side): Work 2 dc in the 2nd chain from hook, *dc in next 7 ch, skip 2 ch, dc in next 7 ch, V-st in next ch* 3 times, dc in next 7 ch, skip 2 ch, dc in next 7 ch, 2 dc in the last ch, turn.
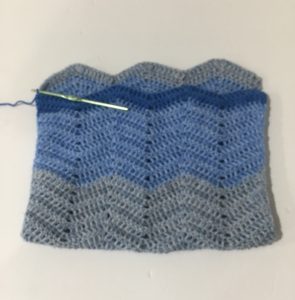
Row 2: Ch 1, 2 dc in the first dc, *dc in next 7 dc, skip next 2 dc, dc in next 7 dc, V-st in ch 1 space* 3 times, dc in next 7 dc, skip next 2 dc, dc in next 7 dc, 2 dc in the last dc, turn.
Rows 3-44: Repeat row 2.
Continue in the Finishing instructions.
For 14” laptop:
Ch 54.
Row 1 (Right Side): Work 2 dc in the 2nd chain from hook, *dc in next 7 ch, skip 2 ch, dc in next 7 ch, V-st in next ch* 2 times, dc in next 7 ch, skip 2 ch, dc in next 7 ch, 2 dc in the last ch, turn.
Row 2: Ch 1, 2 dc in the first dc, *dc in next 7 dc, skip next 2 dc, dc in next 7 dc, V-st in ch 1 space * 2 times, dc in next 7 dc, skip next 2 dc, dc in next 7 dc, 2 dc in the last dc, turn.
Rows 3-40: Repeat row 2.
Continue in the Finishing instructions.
Finishing (for both sizes):

With right sides held together, sc the 3rd row and the last row together. Sc the two sides together. Fasten off. Attach yarn to the other side on the last row, sc the 3rd and last row together. Sc the two sides together. Fasten off. Weave in all ends. Turn the sleeve right side out. Add the buttons to the valleys on the shorter side between the top row and the 2nd row from the top. The 17” laptop sleeve will require 4 buttons and the 14” laptop sleeve will require 3 buttons. The space at the top of the corresponding peaks are the buttonholes.


1 thought on “Free Crochet Pattern – Chevron Laptop Sleeve”